
The Thirst of the Clay and the Old Man’s Rule
My mentor, a man whose hands looked more like cracked leather than human skin, used to make me sit and watch a dry brick in a bucket of water. ‘Listen to it drink,’ he’d say. If the brick hissed too loudly, it was too thirsty—it would suck the life right out of your mud before you could even reach for your slicker. That lesson was the foundation of everything I know about mortar matching services and structural integrity. Most modern ‘masons’ just slap some premix on a trowel and wonder why their work looks like a kindergartner’s art project after one winter. They don’t understand the physics of the bond. They don’t understand that the tools you carry are merely extensions of a deep, chemical conversation between the aggregate, the binder, and the masonry unit itself.
The Anatomy of the Mud: Why Your Mix Dictates Your Tooling
Before we even talk about the steel in your bag, we have to talk about the mortar matching services that define a professional job. In the North, where the freeze-thaw cycle is a relentless predator, you can’t just use any bag of gray dust. When water gets trapped in a wall, it expands by 9% upon freezing. If you’ve used a high-strength Portland cement on a soft, 1920s-era brick, that pressure has nowhere to go. The brick face will pop right off—a process we call spalling. I’ve seen brick infill panel repair jobs ruined because the contractor thought ‘harder is better.’ It’s not. The mortar must be the sacrificial lamb of the wall. It must be softer than the brick, allowing moisture to migrate out through the joints rather than the masonry face. This is why we use Type O or Type N lime-heavy mortars for restoration.
“The compressive strength of the mortar should never exceed the compressive strength of the masonry units.” – BIA Technical Note 1B
The Essential Arsenal for Clean Joints
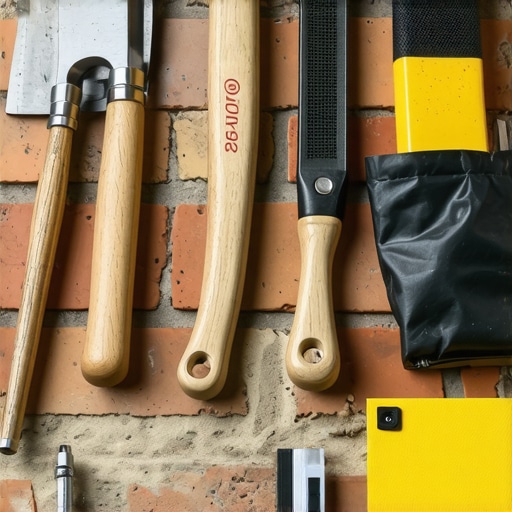
To achieve a joint that actually sheds water, you need more than a hardware store bucket. Tuckpointing weatherproofing starts with the hawk and the trowel. Your hawk is your palette; it’s where you control the hydration of your mud. If the mud is too wet, it will bleed and stain the brick face—a nightmare for facade cleaning later. If it’s too dry, you’ll get honeycombing, those nasty little voids where water loves to hide. The trowel—specifically a narrow tuckpointing trowel—allows you to ‘butter’ the head joints with precision. You aren’t just pushing mud in; you are packing it. You want to eliminate every air pocket. Air is where the ice grows, and ice is what tears your chimney repair services apart from the inside out.
The Physics of the Strike: Slickers and Joiners
Once the mud has reached the ‘thumbprint hard’ stage, it’s time to strike. This isn’t just for aesthetics. When you use a slicker or a round jointer, you are mechanically compacting the surface of the mortar. This compaction creates a dense, water-resistant skin. In flush pointing services, the goal is to keep the mortar perfectly level with the brick, but in high-wind areas, a concave joint is king. It directs water away from the edges of the brick. If you’re working on an outdoor kitchen masonry build, you might want a raked joint for shadow lines, but you’d better ensure that tuckpointing weatherproofing is top-notch, or you’ll be rebuilding that pizza oven in five years when the joints crumble.
“A properly executed joint is the first line of defense against the ravages of the elements.” – ASTM C270 Standards
Beyond the Surface: Chimneys and Retaining Walls
When it comes to chimney interior parging, the tools change but the physics remains the same. You’re applying a smooth coat of mortar to the inside of the smoke chamber to improve draft and prevent heat transfer. It’s gritty, hot work, and if you don’t get the suction right on the old brick, the parge coat will delaminate and fall like a sheet of lead. Similarly, retaining wall installation requires a deep understanding of hydrostatic pressure. I’ve been called to forensic scenes where a wall has bowed six inches because the ‘pro’ forgot the weep holes or used a mortarless masonry systems approach on a slope that required a gravity-wall calculation. You can have the cleanest joints in the world, but if the soil behind the wall turns to soup, that soldier course at the top won’t save you.
The Forensic Reality of Failure
I recently walked a site where a homeowner had a chimney repair services team ‘fix’ their crown with common mortar. Six months later, it was a spiderweb of cracks. Why? Because the crown is exposed to the most brutal thermal expansion on the house. You don’t use mud there; you use a reinforced concrete wash or a specialized crown sealant. They didn’t account for the cold joint created between the old masonry and the new pour. Every tool in your bag—from the wire brush used for facade cleaning to the hammer and chisel used for raking out old joints—must be used with an eye toward the future. Are you building something that lasts a lifetime, or are you just ‘buttering’ a over a catastrophe? The difference is in the details of the strike, the chemistry of the mix, and the respect for the trade that only comes after you’ve laid enough brick to know that the wall always wins in the end.