The Anatomy of the Wavy Walkway: Why Your Hardscape is Failing
You step out with your morning coffee, and instead of the solid, silent resistance of a well-laid masonry surface, you feel a sickening thunk. The brick gives way. It wobbles. It ‘pumps’ a small geyser of muddy water up through the joints. This isn’t just an aesthetic annoyance; it is a forensic signal that the physics of your patio have been compromised. My mentor, a man who could tell the moisture content of a pile of sand just by the way it held the imprint of his boot, always said that a patio is a living thing. If you don’t give it a skeleton of stone and a skin of grit, it will try to return to the earth. Most ‘handyman’ patios fail because they treat the ground like a static floor rather than a dynamic, shifting sea of soil and frost.
“Water penetration is the single greatest threat to masonry durability.” – BIA Technical Note 7
When bricks feel loose, the culprit is rarely the brick itself; it is the migration of the bedding layer. We are talking about the ‘fines’—those tiny particles of sand and stone dust that fill the voids between the larger aggregate in your base. In a northern climate, we deal with the brutal reality of the freeze-thaw cycle. When water gets trapped under a paver, it expands by 9% as it turns to ice. This expansion exerts thousands of pounds of pressure, lifting the brick. When it thaws, the brick doesn’t settle back perfectly. It leaves a void. Repeat this fifty times a winter, and you have a patio that feels like walking on a bag of marbles. This is why stone coping installation at the edges is so critical—it acts as a structural dam, holding the entire assembly in place. Without a rigid edge, the bricks move laterally, the joints open up, and the structural integrity vanishes.
The Forensic Scene: Diagnosing the Sub-Grade Failure
Before you reach for a bag of polymeric sand, you need to understand the ‘tooth’ of your base. If I’m called to look at a sagging patio near a home’s foundation, I’m looking for more than just loose bricks. I’m looking for brick veneer detachment repair needs on the adjacent walls or signs that the chimney structural repair performed years ago didn’t include proper flashing. Often, the water causing your patio to sink is coming from above—leaking gutters or a poorly integrated green roofing masonry integration system that is dumping gallons of water directly into the patio’s sub-base. When the soil becomes saturated, it loses its load-bearing capacity, a process known as soil liquefaction on a microscopic scale. You aren’t just walking on bricks; you are walking on a failed drainage system.
Check the joints. Are they empty? If the sand is gone, the bricks have no friction to hold them together. This is where the ‘mud’ comes in—not literal mud, but the bedding sand. In the old days, we’d use a heavy screed to ensure the bedding layer was perfectly flat, but if that sand is too fine, it will wash away. I’ve seen outdoor masonry fountain restoration jobs where the fountain was leaking into the patio base for years, turning the limestone screenings into a soup that offered zero support. If you’re seeing brick arch restoration issues nearby, it’s a sign the whole site is moving. You can’t just ‘butter’ the edges of a loose brick and call it a day.
Micro-Zoom: The Chemistry of Compaction
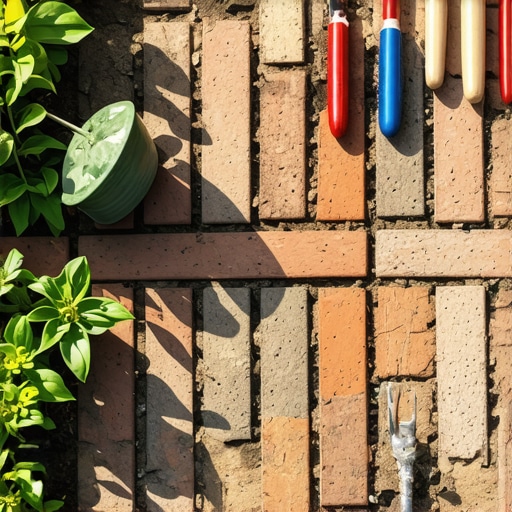
To fix a loose patio, you have to understand compaction physics. You need a 95% Proctor density in your sub-base. That means using a plate compactor until the ground ‘rings.’ Most DIYers run the machine over the dirt once and think they’re done. I run it until the vibration feels like it’s going to shake my teeth out. You want an aggregate mix that has a variety of sizes—from 3/4-inch crushed stone down to the fines. These particles interlock. It’s like a puzzle where every piece is jammed together. If you’re dealing with a transition to a vertical surface, you might need to use masonry birdsmouth cuts to ensure the pavers fit tightly around structural posts or piers. This prevents the ‘rocking’ motion that starts the failure of the entire field.
“The stability of any masonry assembly is contingent upon the uniformity of its support.” – ASTM C1780
If you have a wall nearby, check the stone veneer over brick. If the veneer is bulging, the same hydrostatic pressure that’s ruining your patio is pushing on that wall. I’ve seen people try to cover up these structural sins with metallic masonry finishes, thinking a bit of paint or glaze will hide the cracks. It’s a fool’s errand. You have to address the water. If your patio is next to a chimney, ensure that the chimney flue liner installation hasn’t caused cracking in the exterior masonry that allows water to seep behind the brickwork and down into the patio’s base. Everything in masonry is a water management problem.
The Restoration Process: How to Tighten the Field
First, you pull the units. Not just the loose one, but the six around it. You need to see the bedding layer. If the sand is ‘mushy,’ you dig it out. You replace it with dry, coarse sand. You don’t use ‘play sand’—it’s too round. You need sand with ‘tooth’—angular grains that bite into each other. If you find that the pavers are sinking because of a larger structural void, you might be looking at a more serious issue, much like when we have to perform chimney structural repair due to a settling footing. Once the base is rebuilt and compacted, you ‘butter’ the joints with a high-quality polymeric sand, but only after the bricks are bone dry. If you apply it to damp bricks, it ‘flashes’—it skins over and never sets properly, leaving you with a sticky mess that fails within a month.
For those high-end jobs where we are doing stone coping installation around the perimeter, we often set the border in a ‘mud bed’—a thick layer of Type S mortar. This creates a concrete-hard ‘picture frame’ that prevents the interior bricks from ever moving. It’s the difference between a patio that lasts five years and one that lasts fifty. When you’re striking the joints with a slicker tool, you’re not just making it look pretty; you’re compacting the joint material to keep the water out. It’s the same principle we use in brick arch restoration: every piece must be in compression. If there is a gap, there is a failure point.
The Hardscape Truth: Do It Once or Do It Twice
There are no shortcuts in masonry. If you try to save money on the gravel base, you will spend it later on the repair. I’ve seen $100,000 projects ruined because the contractor skipped the geotextile fabric between the soil and the stone. The soil eventually migrates up into the stone, the stone sinks into the soil, and the patio becomes a roller coaster. If you’re integrating features like an outdoor masonry fountain restoration or complex masonry birdsmouth cuts, the level of precision required increases exponentially. Don’t be seduced by cheap labor. A real mason knows the smell of the lime, the weight of the hawk, and the sound of a brick that’s properly ‘set.’ Tightening a patio isn’t just about the bricks; it’s about restoring the balance between the earth and the art of the stone.