The Ghost in the Wall: Why Your Restoration is Failing Before It Starts
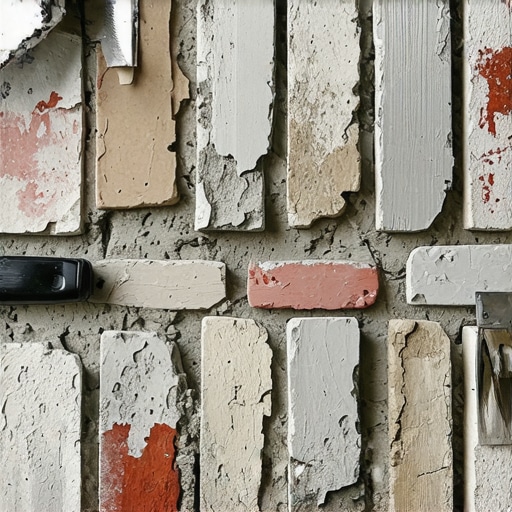
I once walked up to a 120-year-old Victorian in the historic district where the owner was beaming with pride over a recent repointing job. Within three minutes, I pulled a pocketknife and popped a chunk of mortar right out of the bed joint. It came out in a clean, hard shard, like a piece of broken porcelain. Behind it, the original red brick was turning into orange dust. The previous contractor had used a high-strength Portland cement mix on a wall designed for the flexibility of lime. He didn’t just repair the wall; he signed its death warrant. My Uncle Silvio used to rub a handful of sand from a crumbled joint between his calloused palms; if it felt like river silk rather than jagged grit, he knew he was dealing with a high-calcium lime that had spent a century breathing. If you don’t respect the ‘suction’ of the original masonry, the wall will eventually vomit out whatever ‘lick-and-stick’ solution you try to force into it.
“Mortar should always be weaker than the masonry units it binds, acting as a sacrificial element that allows for thermal expansion and moisture evaporation.” – BIA Technical Note 2
To understand historic restoration, you have to understand the physics of the ‘sacrificial lamb.’ In pre-1940s construction, the mortar wasn’t a glue; it was a breathing lung. These old-growth bricks were fired at lower temperatures, making them softer and more porous than the vitrified blocks we see today. When you introduce modern Type S mortar—the kind of ‘mud’ most guys buy at the big-box store—you are introducing an immovable object. When the building shifts or the temperature drops, the soft brick wants to move, but the hard cement refuses. The result is spalling, where the face of the brick literally explodes off the wall because the moisture is trapped behind a wall of impermeable cement.
The Forensic Chemistry of the Perfect Match
Achieving a perfect match isn’t about looking at a color chart. It’s about forensic analysis. To get a true match, we perform an acid digestion test. We take a sample of the original mortar and dissolve the binder in a diluted hydrochloric acid solution. This leaves behind the original aggregate—the sand. By examining the shape, color, and size distribution of those sand grains under a lens, we can source local sand that matches the ‘tooth’ of the original. This is critical for freeze-thaw damage restoration because the capillary structure of the new mortar must allow water to migrate out, not get stuck at the interface.
The chemical magic of lime mortar is the carbonation cycle. Unlike Portland cement, which cures through a hydraulic reaction (adding water), lime putty cures by absorbing carbon dioxide from the air. This process can take months, even years, to reach full strength. This slow cure allows the building to ‘settle’ into its new joints without cracking. If you see a cold joint in a restoration project, it’s a sign the mason didn’t manage his ‘lifts’ correctly or allowed the mud to flash-dry in the sun. This is why we often use burlap screens to keep the wall damp, ensuring the lime has the moisture it needs to carbonate rather than simply drying out and crumbling into a white powder.
“The use of modern cements in the repair of historic buildings is often the primary cause of accelerated decay.” – ASTM C1713 – Standard Specification for Reproduced Lime Mortar
The Modern Hazards: Stone Veneer and Machine Hype
I see it every week: a homeowner wants to modernize an old brick foundation by slapping stone veneer over brick. This is a recipe for structural rot. The veneer creates a secondary drainage plane that rarely drains correctly, trapping hydrostatic pressure against the old, soft common brick. If you aren’t using masonry waterproofing solutions that are vapor-permeable (meaning they let gas out but not liquid in), you are essentially shrink-wrapping your house in a wet blanket. The same goes for the misuse of tuckpointing machine services. While a pneumatic slicker can be a godsend for a massive warehouse project, on a delicate historic facade, the vibration alone can shatter the internal bond of the ‘soldier course’ above windows.
For the DIY enthusiast, tuckpointing tools for DIY are often sold as ‘magic bullets.’ They give you a powered grinder and tell you to go to town. But if you hit the edge of a soft historic brick with a diamond blade, you’ve just created a permanent scar that will hold water for the rest of its life. True restoration requires a ‘hawk’ and a small ‘slicker,’ hand-buttering each joint with the precision of a surgeon. It’s about the ‘ring’ of the trowel. If the mud is too wet, it will smear and stain the brick (requiring masonry staining or aggressive cleaning later); if it’s too dry, it won’t take a bond. It has to be just right—like wet peanut butter that holds its shape when you turn the trowel upside down.
The Anatomy of a Chimney and High-Elevation Repairs
Chimneys are the most vulnerable part of any historic structure. They are hit by wind and rain from four sides and subjected to extreme thermal shocks from the inside. Chimney rebuild services often fail because the mason uses a standard crown instead of a proper overhanging drip edge. When we talk about green roofing masonry integration, we have to be even more careful. The soil and moisture from a rooftop garden can migrate into the masonry via honeycombing in the mortar joints if the flashing isn’t perfect. We often employ self-leveling masonry lifts for large-scale restorations to ensure the scaffold is perfectly stable, allowing the mason to focus entirely on the strike of the joint rather than his balance 40 feet in the air. For emergency masonry repair, the goal isn’t just to stop the leak; it’s to stabilize the movement. Sometimes that means a temporary lime-wash to seal cracks until a full-scale restoration can be performed when the weather breaks.
HowTo: The Basic Acid Test for Mortar Matching
- Carefully chisel out a 2-inch chunk of original, non-weathered mortar from deep within the wall.
- Crush the sample into a coarse powder using a mortar and pestle, being careful not to shatter the sand grains.
- Place the powder in a glass beaker and slowly add a 10% hydrochloric acid solution. The binder will fizz as the CO2 is released.
- Once the fizzing stops, pour the liquid through a fine-mesh filter. The material left behind is your aggregate.
- Dry the aggregate and compare it to local sand samples for color, grain size, and sharpness to create your new ‘mud’ mix.