
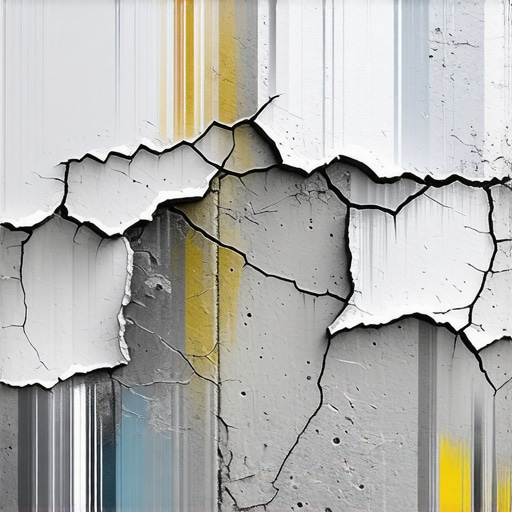
The Illusion of the Quick Fix: A Forensic Scene
The homeowner thought it was just a hairline crack, a minor blemish on the face of a fifty-year-old foundation. They went to the big-box store, grabbed a tub of pre-mixed patch material, and smoothed it over like they were frosting a cake. When I arrived with my borescope and a four-pound hammer, that patch was curling at the edges like burnt parchment. I tapped it once with the butt of my trowel, and the entire six-inch section fell away, revealing a cavity where the structural steel was rusted to dust. The patch hadn’t just failed; it had acted as a trap, sealing moisture against the rebar and accelerating the very destruction it was meant to hide. This is the reality of the ‘handyman special.’ It ignores the fundamental physics of the bond line and the relentless pressure of the earth.
The Chemistry of the Bond Line: Why ‘Mud’ Won’t Stick
To understand why a DIY concrete patch peels, you have to micro-zoom into the hydration process. New concrete and old concrete are chemically distinct entities. Old concrete has undergone decades of carbonation, a process where calcium hydroxide reacts with atmospheric CO2 to form calcium carbonate. This lowers the pH of the material and changes its porosity. When you slap fresh ‘mud’ onto this surface, the old concrete acts like a desiccator, sucking the moisture out of the new patch before the cement crystals can properly grow and interlock. This is called ‘burning’ the patch. Without proper saturation or advanced masonry adhesives, you are creating a cold joint—a structural discontinuity where the two materials are merely touching, not bonded.
“Successful bonding of new cementitious materials to existing concrete requires the removal of all laitance and contaminants and the establishment of a sound, macro-retentive surface profile.” – ASTM C1059/C1059M Standard Specification
The Freeze-Thaw Cycle: The 9% Expansion Rule
In northern climates, the enemy is the phase change of water. When water enters the micro-fissures between a failing patch and the original substrate, it waits for the temperature to drop. As that water freezes, it expands by approximately 9% in volume. This generates internal pressures that can exceed 100,000 psi—far beyond the tensile strength of any DIY concrete mix. If the patch is harder than the original material, the pressure has nowhere to go but out, popping the face of the brick or concrete off in a process known as spalling. This is why chimney interior parging often fails within three seasons; the thermal shock of the flue combined with trapped moisture creates a hydraulic ram that shears the bond clean off.
Structural Masonry Inspection: Stair-Steps vs. Horizontal Fissures
Before you even pick up a slicker, you must perform a structural masonry inspection to determine if the crack is a symptom of settlement or a byproduct of hydrostatic pressure. A stair-step crack following the mortar joints often indicates that the footing has moved. A horizontal crack mid-wall usually suggests that the soil outside is heaving or that there is a lack of proper foundation waterproofing. If you patch a settlement crack without addressing the soil mechanics—perhaps through helical piers or soil stabilization—the house will continue to move, and your patch will tear like tissue paper. You aren’t fixing the problem; you’re just hiding the evidence of a failing retaining wall repair or a sinking corner.
The Failure of ‘Lick-and-Stick’ Aesthetics
Modern masonry has been degraded by the ‘lick-and-stick’ culture. We see this in stone balustrade restoration and stone veneer where contractors use high-strength Portland cement on top of soft, lime-based historic materials. In historic restoration, the mortar must be the sacrificial lamb. It must be softer and more vapor-permeable than the stone or brick. When you use a hard, brittle DIY patch on a soft 1920s brick, the brick becomes the weakest link. The next time the wall breathes or shifts, the brick cracks, not the patch. This is how you destroy the value of a historic facade in one weekend of ‘home improvement.’
“Moisture movement in masonry systems is the primary catalyst for structural degradation and material failure.” – BIA Technical Note 18
Advanced Solutions: Beyond the Bucket
True cracked brick wall repair or chimney repair services require more than just buttering the joints. It requires mechanical ‘tooth.’ You must grind out the failed material to a depth of at least twice the width of the joint. You must clear the laitance—that milky, weak layer of cement that rises to the surface. Professional-grade tuckpointing weatherproofing involves using air-entrained mortars that provide microscopic voids for water to expand into when it freezes, preventing the spalling that kills DIY patches. We use ‘hawks’ to hold our mud and ‘slickers’ to compress the joints, ensuring that there are no air pockets where water can congregate. If you don’t ‘ring’ the brick before you lay it, and if you don’t prepare the substrate until it has the texture of coarse sandpaper, you are just wasting time. Do it once with the right physics, or do it twice when the patch peels off and hits the driveway.