Patch Spalled Concrete Steps Fast with 4 Proven 2026 Techniques
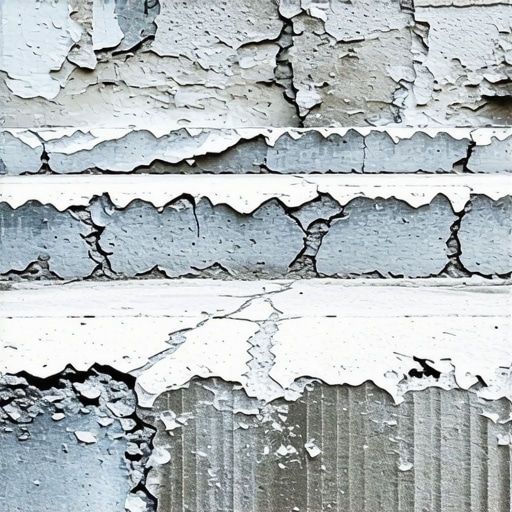
The Anatomy of a Dying Step: Why Your Concrete is Shedding Skin
I once stood over a set of grand entrance stairs that had been ‘fixed’ by a cut-rate contractor only six months prior. The homeowner was baffled as to why the repair was now sitting in his mulch bed in jagged, grey flakes. I didn’t need a lab to tell him why. I picked up a piece of the delaminated ‘mud’ and showed him the back of it; it was as smooth as a mirror. There was no ‘tooth,’ no mechanical bond, and absolutely zero chemical integration. He had fallen for the classic ‘lick-and-stick’ trap, where a thin layer of cheap Portland cement is buttered over a dirty, dead substrate. In the masonry world, we call this a death sentence for your curb appeal. Concrete isn’t a static rock; it’s a thirsty, breathing chemical matrix that is constantly at war with the elements, especially in the freeze-thaw belts where water expands by 9% the moment the thermometer dips. If that water is trapped in the Interfacial Transition Zone (ITZ) between your old step and your new patch, the ice will act like a hydraulic jack, popping your repair off with a force that would make a concrete pump masonry mixes specialist blush. Patching spalled concrete in 2026 isn’t about hiding the damage; it’s about forensic preparation and molecular bonding.
“The most important property of a repair material is its ability to remain bonded to the substrate throughout its service life.” – ASTM C928 Standard Specification
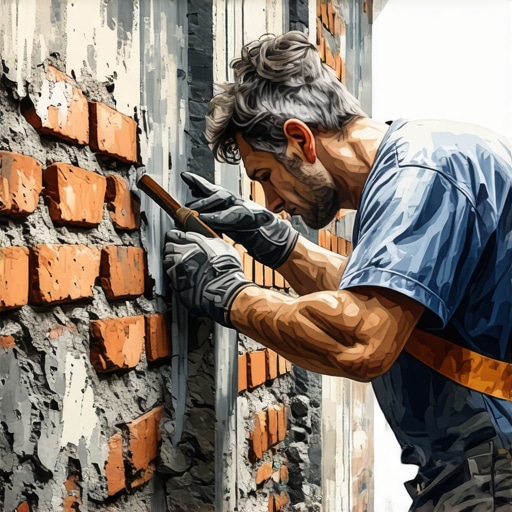
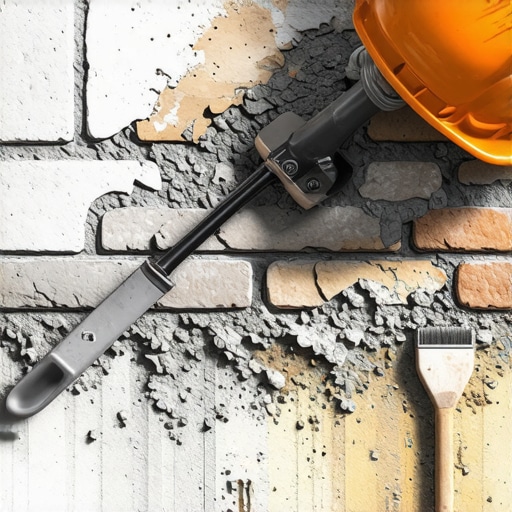
Technique 1: The Forensic Excavation (Beyond the Wire Brush)
The biggest mistake I see in masonry repair services is the fear of making the hole bigger. To fix a spall, you have to be a surgeon. I use a 3-pound hammer and a cold chisel to tap the area surrounding the spall. If it ‘thuds’ instead of ‘rings,’ that concrete is ‘dead’—it’s micro-fractured and must go. You need to achieve what we call a ‘fractured aggregate profile.’ This means grinding or chipping away the soft, carbonated surface until you see the clean, hard stones inside the mix. This provides the ‘tooth’ the new mud needs to grab onto. If you’re dealing with deep structural issues, you might even find yourself performing masonry birdsmouth cuts to interlock new units, but for steps, it’s all about the vertical relief. Avoid ‘feather-edging’ at all costs. A patch that tapers to a thin edge will always fail. You must saw-cut the perimeter of your repair area to at least a 1/2-inch depth to create a ‘butt joint’ for the patch.
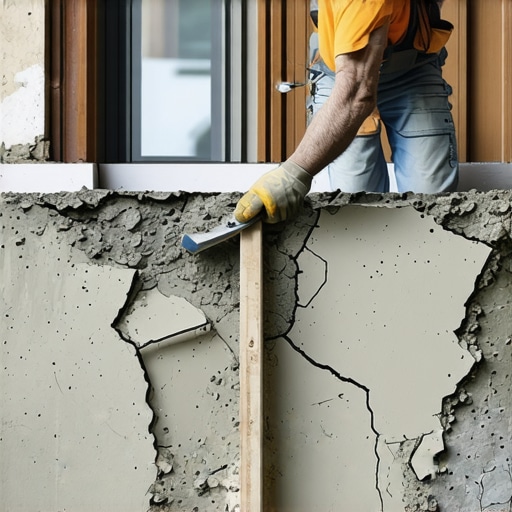
Technique 2: The SSD State and Chemical Priming
Concrete is a sponge. If you slap dry mud onto a dry step, the old concrete will instantly suck the moisture out of your repair. This ‘suction’ kills the hydration process of the cement, leaving you with a brittle, dusty mess that won’t hold. The pro move is achieving the Saturate Surface Dry (SSD) state. You soak the repair area with water until it stops drinking, then pat it down so the surface is damp but has no standing puddles. In 2026, we’ve moved beyond simple water. We now use high-solids acrylic polymer bonding agents. You ‘butter’ the surface with a slurry of this polymer mixed with a little bit of your repair mud. This creates a bridge at the molecular level, ensuring the new material becomes a part of the old structure. This is the same logic we use during a brick veneer installation—the bond is only as good as the initial ‘grab.’
Technique 3: The 2026 High-Performance Polymer ‘Mud’
Forget the 80-pound bags of generic concrete mix for this job. For steps, you need a rapid-setting, fiber-reinforced, polymer-modified mortar. These mixes are engineered with micro-fibers that act like internal rebar, holding the patch together against thermal expansion. When you’re mixing your mud on the hawk, you’re looking for the consistency of peanut butter—not too soupy, or it will shrink and crack; not too dry, or it won’t consolidate. If the spall is on the ‘nose’ of the step (the edge), you’ll need to build a small form or use a ‘stiff’ mix that you can mold by hand. This is where the skill of ‘striking’ the joint comes in. You don’t just smooth it; you pack it. Use a slicker or a margin trowel to force the material into the pores of the old concrete, eliminating any honeycombing or air pockets.
“Moisture is the primary catalyst for the deterioration of all masonry and concrete structures.” – BIA Technical Note 7A
Technique 4: The Hydrophobic Shield and Aesthetic Integration
Once the patch is set, the job isn’t done. The reason it spalled in the first place was water penetration. In 2026, we utilize silane-siloxane penetrating sealers that don’t just sit on top like a film but chemically react with the concrete to create a hydrophobic barrier. This is a critical component of foundation waterproofing. For those looking for a modern aesthetic, the rise of metallic brick colors application has bled into concrete work, where we can tint the sealer to mimic the variegated tones of natural stone. If your steps are part of a larger system that has shifted, you might need to look at patio stone realignment or even foundation slab jacking if the entire staircase is tilting away from the house. If the mortar joints in nearby brickwork are crumbling, a masonry joint sand repair or brick lintel replacement might be necessary to prevent further water from migrating behind your newly patched steps. Do it once, do it right, and let the physics work for you, not against you.

This post really highlights the importance of proper forensic techniques when repairing concrete steps, especially the emphasis on achieving good mechanical bonds and molecular integration. I found the discussion about the ‘fractured aggregate profile’ particularly insightful, as many DIYers tend to underestimate how critical it is to remove the soft, carbonated surface. In my experience working on older properties, I’ve noticed that overlooking this step often leads to failure within a year or two. Also, the move towards advanced polymer-modified mortars and hydrophobic sealers makes a big difference in longevity and water resistance. I recall a project where sealing the surface before repairing prevented significant freeze-thaw damage the following winter. The question I pose to others is: Have you experimented with different bonding agents or sealers, and which ones have yielded the best results for long-term durability? It seems like staying ahead with these modern materials can save a lot of time and money down the line.