How to Fix a Leaning Retaining Wall: 2026 Drainage Upgrades
The Anatomy of a Failing Wall: Decoding the Stair-Step
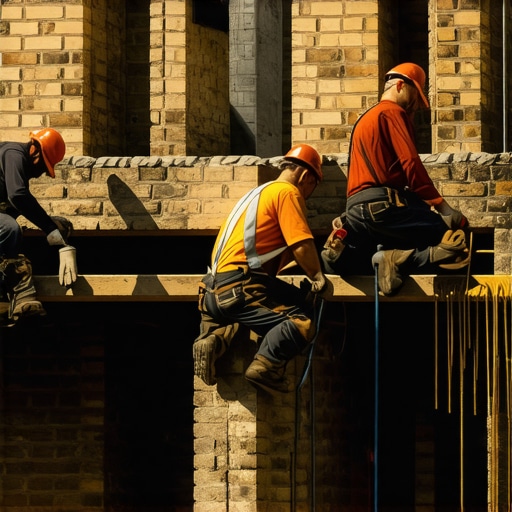
When I walk onto a job site and see a horizontal bulge in a stone or block retaining wall, I don’t just see a curve; I see the physics of failure in slow motion. Most homeowners look at a hairline crack and think they can patch it with a tube of caulk from the big-box store. That is the quickest way to turn a $5,000 repair into a $50,000 demolition. The wall is screaming at you, and if you don’t understand the language of hydrostatic pressure, you’re just throwing good mud after bad. The most dangerous cracks aren’t the vertical ones—those are usually just settling. It’s the horizontal shearing where the wall is literally sliding off its base that should keep you awake at night. The homeowner thought it was just a hairline crack. But when I put my scope inside, I saw the structural steel was rusted to dust. That steel was supposed to be the skeleton, but the 2026 standards for drainage have shown us that even steel can’t save a wall if the soil is essentially a liquid soup behind it.
“Water penetration is the single greatest threat to masonry durability.” – BIA Technical Note 7
In our forensic inspections, we look for ‘honeycombing’ in the concrete or ‘cold joints’ where the previous contractor took a lunch break and didn’t properly vibrate the pour. If you’re in a freeze-thaw climate, the physics are brutal. Water expands by 9% when it turns to ice. If your wall is built with cheap CMU and finished with ‘lick-and-stick’ stone veneer, that 9% expansion acts like a hydraulic jack, popping the faces off the stone and turning your ‘mud’—what we calls mortar—into a crumbly mess of sand. To fix this, you have to understand the ‘tooth’ of the material. Whether you are using historic brick salvage for a facade or mortarless masonry systems for the structure, the base must be an immovable anchor against the lateral load of the earth.
The Geotechnical Reality of Soil Heaving
In the North, we deal with the relentless cycle of frost. In the South, it’s the thermal expansion. But regardless of the zip code, the enemy is always the same: saturation. When soil gets wet, its weight increases exponentially. Clay soil, in particular, acts like a sponge. It doesn’t just get heavy; it expands. That expansion pushes against the back of the wall. Without proper 2026 drainage upgrades, that wall becomes a dam. And masonry is a terrible dam material. We use a hawk and trowel to create beauty, but the engineering is what keeps the wall upright. When the wall starts to lean, it’s often because the ‘toe’ of the wall is rotating outward or the ‘heel’ is lifting. This is why we don’t just ‘butter’ the joints and hope for the best; we excavate and address the aggregate.
“The primary cause of retaining wall failure is the lack of adequate drainage systems to relieve hydrostatic pressure.” – ASTM D3385 Guidelines
2026 standards require more than just a perforated pipe wrapped in a ‘sock.’ We are now looking at high-density polyethylene (HDPE) drainage mats that create a vertical void space behind the wall. This allows water to drop straight to the footing and exit through weep holes before it ever has a chance to push on the masonry. If you’re looking at a leaning wall, the first step isn’t full repointing services; it’s a shovel. We have to see if the contractor used a soldier course where they should have used a header course, or if they skipped the geogrid reinforcement that ties the wall back into the ‘stable’ soil zone.
The 2026 Fix: Beyond the Band-Aid
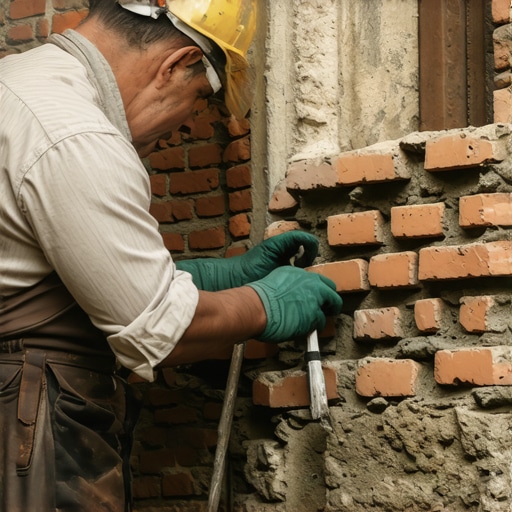
The ‘Cure’ for a leaning wall involves a surgical approach. We often recommend helical piers—essentially giant screws—that we drive into the ground to anchor the wall to competent soil. But for the masonry itself, the repair often involves tuckpointing machine services to remove the old, failing mortar. If the wall is historic, we can’t use modern Portland cement. It’s too hard. We have to use lime-based mortars that allow the wall to ‘breathe.’ If you put hard cement on soft 19th-century brick, the brick will lose the fight every time, and the faces will spall off during the first hard freeze. This is a core principle of forensic masonry: the mortar must always be softer than the masonry unit itself. For those attempting tuckpointing tools for DIY, be warned: if you don’t match the PSI of the existing mud, you are essentially setting a timer for the wall’s destruction.
We also see failures in outdoor fireplace rebuild projects and chimney systems. Often, a leaning retaining wall is just one symptom of poor site drainage that also leads to chimney leak detection issues. Water follows the path of least resistance. If your chimney has a failing crown, we use chimney crown repair techniques that include flexible membranes, similar to how we now integrate green roofing masonry integration into modern retaining walls to manage runoff. By using vegetation and specialized ‘smart’ aggregates, we can reduce the volume of water hitting the wall by up to 40%.
The Physics of ‘Mud’ and Suction
Let’s talk about the chemistry of the repair. When we mix our mud, we’re looking for the ‘suction’ of the brick. If the brick is too dry, it sucks the water out of the mortar too fast, preventing the chemical hydration of the cement or lime. This is called ‘burning’ the joint. The result is a brittle, powdery joint that will fail under the first sign of hydrostatic pressure. In 2026, we are seeing a resurgence in masonry staining as a way to blend these repairs. Instead of painting—which traps moisture and kills masonry—staining uses a mineral-based pigment that chemically bonds with the stone or brick, maintaining its ‘breathability’ while giving it a uniform look after a full repointing. This is critical when you are trying to match the patina of historic brick salvage used in a structural repair.
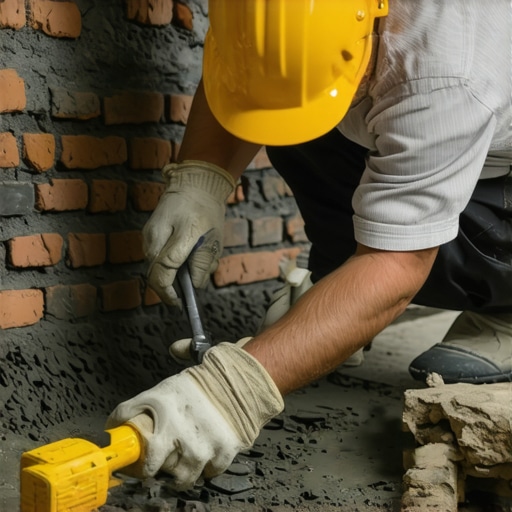
The process of using a slicker to tool the joint isn’t just for aesthetics. It’s about ‘striking’ the joint to compress the mortar against the masonry units, creating a seal. If you have a leaning wall, the joints have likely opened up, allowing even more water to get behind the facade. This creates a feedback loop of failure. By using tuckpointing machine services, we can ensure that the new mortar is packed tight, deep into the bed joint, restoring the structural integrity of the wall’s face. But remember: if the base isn’t fixed, you’re just putting lipstick on a pig. You need a base of 57-stone, compacted in 4-inch lifts, and a drainage system that can handle a 100-year storm event, which, in our current climate, seems to happen every three years.
When to Panic: Forensic Indicators
If you see ‘honeycombing’—areas where the concrete aggregate is visible and looks like a hornet’s nest—that’s a sign that the wall was poorly poured and is likely riddled with internal voids. This is where chimney leak detection tools, like thermal cameras and borescopes, come into play for retaining walls. We can see where the water is pooling behind the stone. If the wall is leaning more than 1 inch for every foot of height, you are in the ‘danger zone.’ At that point, the center of gravity has shifted too far, and the wall is no longer a gravity structure; it’s a liability. Do it once, or do it twice. If you hire a handyman to ‘butter’ the cracks, you’ll be calling me in two years to rebuild the whole thing from the footing up. In the world of forensic masonry, the truth is always written in the cracks. You just have to know how to read them.
{ “@context”: “https://schema.org”, “@type”: “HowTo”, “name”: “Fixing a Leaning Retaining Wall with 2026 Drainage Upgrades”, “description”: “A professional guide by a master mason on identifying and repairing structural failures in retaining walls using modern drainage techniques.”, “step”: [ { “@type”: “HowToStep”, “name”: “Forensic Inspection”, “text”: “Analyze crack patterns to determine if the failure is due to settling or hydrostatic pressure. Use a borescope if necessary to check for internal rust or voids.” }, { “@type”: “HowToStep”, “name”: “Excavation and Pressure Relief”, “text”: “Excavate the soil behind the wall to remove the weight and pressure. This is the only way to address the root cause of the lean.” }, { “@type”: “HowToStep”, “name”: “Drainage Upgrade”, “text”: “Install HDPE drainage mats and perforated piping with 57-stone aggregate to ensure water exits through weep holes.” }, { “@type”: “HowToStep”, “name”: “Structural Stabilization”, “text”: “Apply helical piers or geogrid reinforcement to anchor the wall back into stable soil zones.” }, { “@type”: “HowToStep”, “name”: “Joint Restoration”, “text”: “Use tuckpointing machine services to clear failing mortar and repoint with site-appropriate mud (lime or Portland) to seal the facade.” } ] }