![Fix Cracking Joints: 5 Historic Brickwork Repointing Tactics [2026]](https://masonryrescue.com/wp-content/uploads/2026/02/Fix-Cracking-Joints-5-Historic-Brickwork-Repointing-Tactics-2026.jpeg)
Fix Cracking Joints: 5 Historic Brickwork Repointing Tactics [2026]
The Tragedy of the ‘Hard Patch’: Why Your Historic Facade is Crumbling
I recently walked past a 1920s Tudor revival that made my stomach churn. Some ‘handyman’ had taken a grinder to the soft, hand-molded clay bricks and slapped in a bag of off-the-shelf Type S Portland cement. To the untrained eye, it looked ‘neat.’ To a third-generation mason, it looked like a death sentence. Within two seasons, the faces of those historic bricks will start popping off like scabs—a process we call spalling—because the wall can no longer breathe. This is the reality of historic tuckpointing and restoration; if the mortar is harder than the brick, the brick loses every single time.
My mentor used to have a peculiar habit when we’d walk onto a masonry rescue after disaster site. He’d take a small shard of the original mortar and crush it between his thumb and forefinger. If it turned to dust with a slight grit, he’d nod. ‘That’s lime, kid,’ he’d say. ‘It’s been breathing for a century. You put that grey plastic mud in there, and you’ll choke the life out of this building.’ He understood the sacrificial principle: the mortar is the sponge that protects the stone. When you ignore that, you aren’t fixing a wall; you’re building a ticking time bomb.
“Mortar should be designed as a sacrificial material; it must be more permeable and weaker than the masonry units it bonds together to ensure that moisture and stress do not destroy the brick itself.” — ASTM C270 Standard Specification for Mortar for Unit Masonry
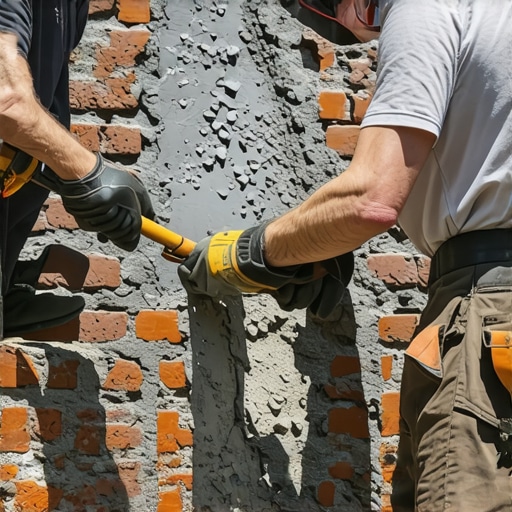
Tactic 1: The Forensic Joint Excavation (Beyond the Grinder)
Most contractors want to run a 4-inch diamond blade through your joints as fast as possible. That’s how you end up with ‘widened’ joints and nicked brick corners that ruin the building’s profile. For brick infill panel repair and delicate restoration, we use oscillating blades or, better yet, hand chisels. You need to get back at least 3/4 of an inch—or twice the width of the joint—to give the new mud enough ‘tooth’ to grab onto. If you don’t create a clean, square ‘U’ shape in the joint, the new material will just ‘feather out’ and flake off in six months. We call that ‘lipping,’ and it’s the hallmark of a hack job.
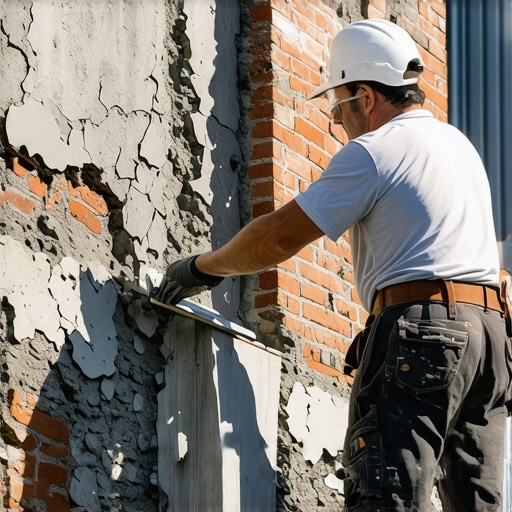
Tactic 2: Moisture Management and the Suction Test
Before you ever put mud on a hawk, you have to manage the ‘suction’ of the old brick. Historic clay is thirsty. If you slap dry mortar into a dry joint, the brick will suck the water out of the mix instantly. This prevents proper hydration, meaning the mortar never actually bonds; it just sits there. We use a fine mist to reach ‘saturated surface dry’ (SSD) conditions. This is especially critical during chimney leak detection repairs, where the exposure to wind and sun is at its peak. If the brick is too wet, the mortar will smear; if it’s too dry, it ‘burns’ and crumbles.
Tactic 3: The Chemistry of Breathability (Lime vs. Portland)
In 2026, we are seeing a return to high-calcium lime putties. Why? Because lime mortar doesn’t ‘set’—it ‘cures’ through carbonation. It takes CO2 from the air and slowly turns back into limestone. This allows for autogenous healing; when a tiny hairline crack forms, moisture dissolves a bit of the free lime and redeposits it into the crack, sealing it back up. Try getting a bag of modern cement to do that. For flush pointing services, using a Type O or even a Type K mortar is non-negotiable for pre-war structures. We’re also seeing a rise in metallic brick colors application for restoration projects where the original fire-flashed patina has been lost to aggressive masonry cleaning in the past.
“Water penetration is the single greatest threat to masonry durability. The use of overly dense mortars prevents the natural evaporation of moisture, leading to sub-florescence and eventual masonry failure.” — BIA Technical Note 7: Water Resistance of Brick Masonry
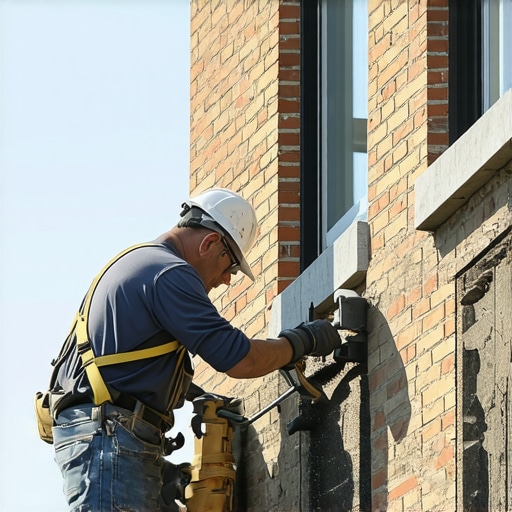
Tactic 4: The Art of the Slicker and the Strike
When you’re tuckpointing, the tool choice defines the era. A slicker or a ‘jointer’ isn’t just for looks; it packs the material. You don’t just ‘fill’ the joint; you compact it. We ‘butter’ the hawk, take a small amount on the tool, and drive it into the back of the joint in ‘lifts’ or layers. This prevents honeycombing—those hidden air pockets that trap water and freeze. For historic tuckpointing, we might use a contrasting color for the ‘bead’ to give that razor-sharp aesthetic that was popular in the Victorian era. It’s a slow, grueling process that makes your forearms scream, but it’s the only way to ensure the wall survives another century.
Tactic 5: Hardscape Realignment and Patio Restoration
The same logic applies to brick patio restoration and patio stone realignment. Most ‘pros’ just throw some polymeric sand into the cracks and walk away. But if the base has shifted due to poor drainage, you’re just putting lipstick on a pig. We look for the ‘wavy’ pattern that indicates sub-base failure. True restoration involves pulling the units, re-compacting the fines, and ensuring the pitch is shedding water away from the foundation. A ‘cold joint’ in a patio is just an invitation for weeds and ice to tear your hard work apart.
The Forensic Verdict: Do It Once, or Do It Twice
Whether you’re looking at a crumbling parapet or a sagging garden wall, the physics don’t lie. You can’t cheat the freeze-thaw cycle, and you certainly can’t cheat the chemistry of old clay. If a contractor shows up without a spray bottle and starts talking about ‘quick-set’ cement for your 100-year-old home, send them packing. Masonry is the art of managing water and movement. Use the right mud, pack the joints tight, and respect the ‘tooth’ of the stone. Anything else is just a temporary mask on a structural disaster.