Fix Chimney Flashing Fast: 3 Proven 2026 Waterproofing Tips
The Forensic Scene: When a Hairline Crack Becomes a Structural Disaster
I recall a call out to a 1920s Tudor in the height of the November rains. The homeowner pointed to a tiny, wet bloom on the plaster in the master bedroom. ‘Just a hairline crack,’ he told me. But when I took my borescope and slipped it behind the lath, I didn’t see a simple drip. I saw the structural steel lintel over the fireplace was rusted to a pile of orange dust. The chimney was effectively floating, held up by nothing but hope and a few stubborn courses of brick. That is the reality of masonry. It doesn’t scream when it’s hurting; it whispers until it collapses. Most folks treat chimney flashing like a weekend DIY project, slapping on some ‘lick-and-stick’ sealant and calling it a day. That’s a fool’s errand. If you want to stop a leak in 2026, you have to understand the physics of the ‘reglet’ and the brutal reality of the freeze-thaw cycle.
“Water penetration is the single greatest threat to masonry durability. Flashing and weep holes are essential to redirect moisture to the exterior.” – BIA Technical Note 7
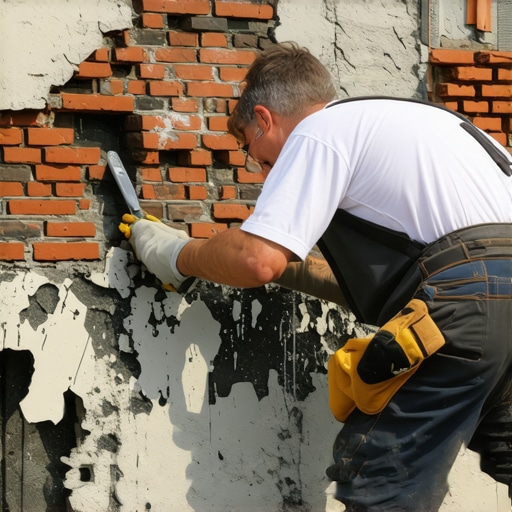
1. The Mechanical Bond: Cutting the Reglet for Permanent Waterproofing
The first mistake people make is relying on a chemical bond alone. In the trades, we call this ‘buttering’ the joint and praying. If you’re just running a bead of silicone against the brick, you’re on a five-year countdown to a leak. Brick is porous; it breathes. As it heats and cools, it expands and contracts—a process known as thermal movement. A surface-mounted piece of lead or copper flashing will eventually pull away. To fix this, you must cut a reglet—a deep groove into the mortar joint—and fold the flashing into the masonry itself. This creates a mechanical lock. When I’m on a roof, I’m looking for that ‘tooth’ in the brick. I use a diamond-blade grinder to clear out the joint to a depth of at least one inch. Then, we tuck the metal in and wedge it with lead plugs. This ensures that even if the sealant fails, gravity still works in your favor. We then fill the remaining void with a high-performance ‘mud’ (mortar). This isn’t just about aesthetics; it’s about ensuring the water has no choice but to shed off the shoulder of the chimney. In 2026, we are seeing more hybrid polymer sealants that claim to last forever, but without that mechanical reglet, you’re just putting a Band-Aid on a gunshot wound.
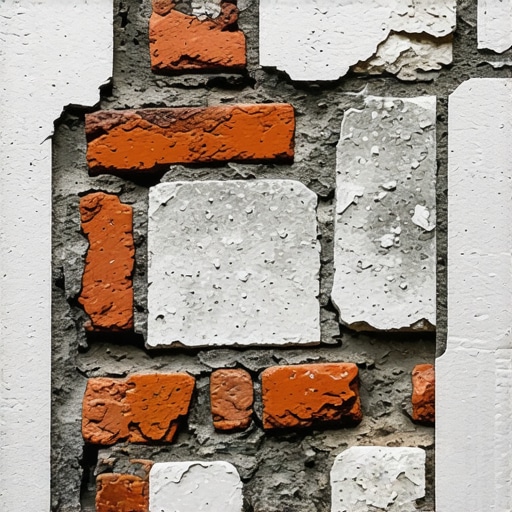
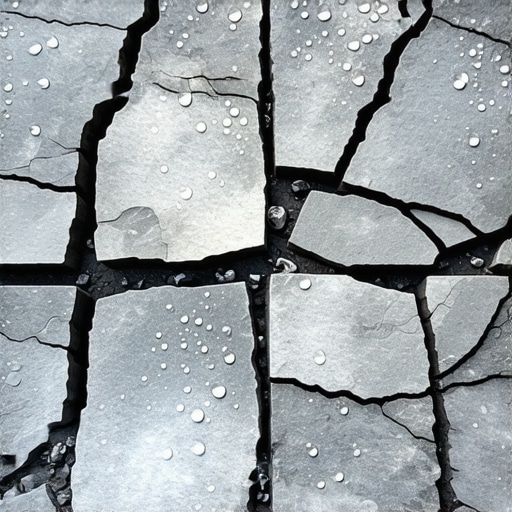
2. The Systemic Approach: Flue Liners and the Internal Moisture Trap
You can have the best flashing in the world, but if your chimney flue liner installation is botched, the chimney will rot from the inside out. This is where masonry damage assessment gets complicated. Modern high-efficiency furnaces vent cooler air than old wood-burners. That cooler air condenses against the cold masonry of the chimney. This liquid is acidic. It eats away at the mortar from the inside. When that moisture reaches the exterior brick, and the temperature drops below 32 degrees, that water expands by 9%. This is the physics of freeze-thaw damage restoration. The face of the brick literally pops off—a process we call brick spalling prevention. To waterproof a chimney, you must look at the crown and the flue. If the crown is cracked, water is getting behind the brick, bypassing your flashing entirely. We use a reinforced concrete crown with a drip edge. Think of it like an umbrella for your house. If the umbrella is broken, it doesn’t matter how good your boots are. We often recommend foundation underpinning logic here; you have to ensure the base can handle the weight of the water-saturated brick before you even start the brick wall restoration.
“The mortar shall be specified as Type N or Type O to ensure the sacrificial nature of the joint in historic brick wall restoration.” – ASTM C270
3. Breathability and the ‘Slicker’ Finish: The Chemistry of the Joint
When you’re doing tuckpointing tools for DIY, don’t reach for the bag of Type S mortar from the big-box store. That stuff is too hard for old bricks. If the mortar is harder than the brick, the brick will crack. The mortar must be the ‘sacrificial lamb.’ In 2026, the best waterproofing tip is to use a lime-rich mix that allows the masonry to ‘wick’ moisture out. When we finish a joint, we use a slicker or a jointer tool to compress the mud. This compaction is critical. It closes the pores of the mortar and creates a smooth surface that sheds water. If you leave it ‘honeycombed’ or rough, you’re just inviting water to sit and soak. This same principle applies to stone balustrade restoration or even retaining wall geogrid installation—you are managing the movement of water. For those dealing with brick paver driveway repair, remember that the base is everything, but for a chimney, the ‘base’ is the flashing transition. You need to ensure the flashing has ‘kick-out’ ends. These are small bends at the end of the flashing run that direct water away from the siding and into the gutter. Without them, you’re just dumping all that roof water directly into your wall cavity, leading to a catastrophic failure of the soldier course below.
The Hard Truth of Forensic Masonry
Whether you are looking at foundation underpinning or a simple brick spalling prevention job, the enemy is always the same: hydrostatic pressure and the relentless expansion of ice. I’ve seen stone balustrade restoration projects where the internal iron pins have rusted and split the marble like a dry log. The same happens to your chimney when the flashing fails. You don’t need a miracle product; you need a mechanical system that respects the laws of physics. Use lead or copper, cut your reglets, and never—ever—trust a contractor who says they can fix it with a caulk gun. Real masonry takes time, a hawk full of mud, and the patience to strike every joint until it’s ‘slick.’ Do it once, or do it twice. The choice is yours, but the rain doesn’t negotiate. When you see those first signs of brick wall restoration needs, or a wavy line in your brick paver driveway repair, don’t wait for the collapse. Assess it, address the drainage, and use the right materials for the climate. In the North, that means air-entrained mixes; in the South, it means managing thermal expansion with proper control joints.