Avoid Collapse: 5 Brick Column Repair Fixes for 2026 Porches
The Anatomy of a Failing Column: A Forensic Perspective
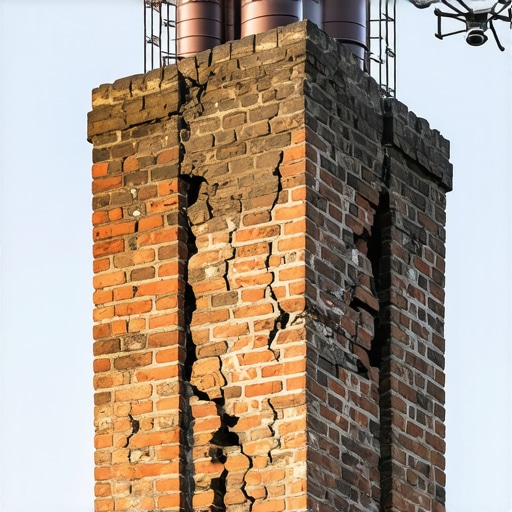
I remember standing under the sagging weight of a 1920s craftsman porch in the middle of a November drizzle. Old Silas, the man who taught me how to hold a hawk and trowel, didn’t look at the cracks first. He walked up to the brick pier and pressed his ear against the masonry. He took his tuckpointing slicker and tapped the face of a header brick. Instead of a sharp, metallic ring, we heard a dull, hollow thud—the sound of ‘dead’ masonry. That column wasn’t just old; it was hollowed out by a century of internal erosion. If you are looking at your porch columns today and seeing a fine dusting of red powder on the deck or a ‘stair-step’ crack crawling toward the ceiling, you aren’t just looking at an eyesore. You are looking at a structural failure in progress. Brick columns are the silent workhorses of a home’s facade, but when they fail, they do so with a catastrophic lack of warning. The following five fixes are not ‘handyman’ patches; they are forensic-level interventions designed to ensure your porch stands until 2126, let alone 2026.
“The service life of a masonry pier is dictated by the compatibility of the mortar and the brick’s Initial Rate of Absorption (IRA). Using a high-strength Portland cement on a soft, historic brick is a recipe for total face-spalling within three freeze-thaw cycles.” – BIA Technical Note 1
1. The Precision of Masonry Birdsmouth Cuts for Interlocking Stability
When a column begins to lean or ‘bow’ outward, the typical response is to smear some ‘mud’ into the cracks. This is useless. To truly repair a column that has lost its structural bond, we utilize masonry birdsmouth cuts. This involves removing specific bricks in a V-shape pattern to allow for the insertion of new, structural clay units that ‘lock’ into the existing core. It’s about restoring the mechanical bond. In my forty years on the scaffold, I’ve seen that a simple butt joint will fail under the lateral pressure of a settling porch roof. By cutting a birdsmouth, you create a tooth-and-groove connection that resists shifting. This is critical for emergency masonry repair when the column is under active load. We are talking about the physics of friction and geometry. If the ‘tooth’ of the new brick doesn’t bite into the old course, you’re just stacking blocks and hoping for the best. I don’t believe in hope; I believe in the compressive strength of a properly fired clay unit.
2. Restoring the Sacrificial Layer: Historic Pointing Styles
One of the biggest crimes in modern masonry is the use of Type S mortar on pre-1940s brickwork. It’s too hard. It doesn’t breathe. When moisture gets trapped behind that wall of hard cement, the 9% expansion of freezing water has nowhere to go but forward, blowing the face off your bricks. For 2026 restoration, we look back to historic pointing styles. We use a lime-rich ‘Type O’ or ‘Type K’ mortar. This mortar is the ‘sacrificial’ element. It is designed to be softer than the brick so that the inevitable stresses of thermal expansion and moisture migration crack the mortar, not the brick. We use a ‘weathered’ or ‘v-joint’ strike to ensure water sheds away from the column. If you see crumbling mortar joint repair as a chore, you’re looking at it wrong. It’s a pressure-release valve for your entire porch structure. You want that ‘mud’ to be the weak link, saving the irreplaceable historic brick from the inevitable march of time.
3. Advanced Tuckpointing Weatherproofing and Moisture Management
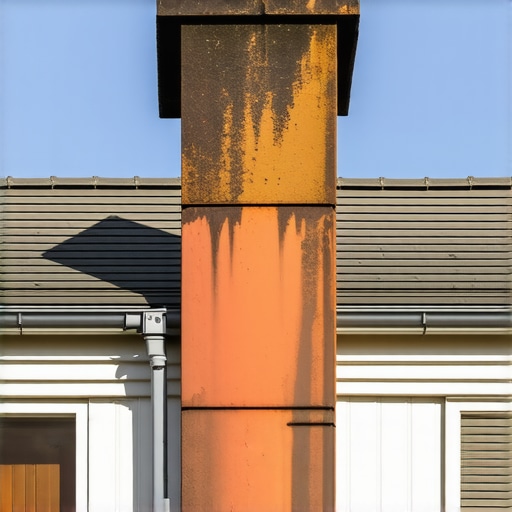
Water is the silent killer of the brick column. It doesn’t just come from the rain; it wicks up from the ground through capillary action. This is where tuckpointing weatherproofing becomes a forensic necessity. We aren’t just slapping on a sealer—which, by the way, is a great way to trap moisture and rot your bricks from the inside out. We are talking about deep-joint penetration. By using tuckpointing machine services for the initial grind-out, we can reach depths of 1 inch or more, ensuring the new mortar bond is deep enough to resist the hydrostatic pressure that builds up during a heavy spring thaw. We also look for chimney leak detection indicators—if the porch is tied into the house’s chimney line, a leak three stories up can manifest as a failing column at the base. We look for ‘efflorescence,’ that white salty stain, which tells us the column is literally ‘sweating’ out its mineral lifeblood.
“Mortar shall be specified as Type N, O, or K for restoration to ensure the compressive strength of the mortar does not exceed 75% of the compressive strength of the masonry unit.” – ASTM C270 Standards
4. Correcting the Batter: Base and Foundation Stabilization
A column is only as good as the footing it sits on. Often, a ‘leaning’ column is actually the result of the soil heaving or the concrete pier failing below grade. This is where retaining wall batter correction logic applies to your porch. If the base of the column has shifted, we don’t just rebuild the top; we excavate and stabilize the footing. We deal with spalled concrete steps repair simultaneously because those steps often act as a lateral brace for the column. If the concrete is honeycombing or showing ‘cold joints’ where the pour was interrupted, the column’s foundation is compromised. We use air-entrained concrete for the repairs to handle the freeze-thaw cycles of the north, ensuring that the ‘suction’ of the soil doesn’t pull the pier out of plumb. You have to treat the column like a tree; if the roots are rotten, it doesn’t matter how much you paint the leaves.
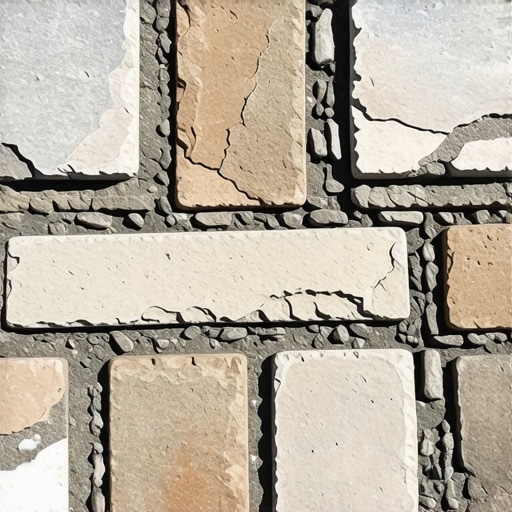
5. Total Restoration: The Brick Patio and Column Integration
Finally, we look at the ‘interface.’ A porch column usually meets a floor—whether it’s wood or a brick-on-sand brick patio restoration. If the patio or porch floor doesn’t have the proper pitch, water pools at the base of the column. This leads to the ‘wicking’ effect I mentioned earlier. During a full restoration, we ensure the grade falls away at least 1/4 inch per foot. We ‘butter’ the bricks at the base with extra care, ensuring there are no voids where insects or ice can gain a foothold. This is where the ‘slicker’ tool earns its keep. By compressing the mortar joint with a slicker, you create a ‘skin’ on the mortar that is significantly more water-resistant than a ‘raked’ joint. It’s the difference between a sponge and a shield. When we finish a column, it should look like a single, monolithic piece of stone, even though it’s made of hundreds of individual units. That is the mark of a master mason, and it’s the only way to ensure your 2026 porch survives to be a historic landmark for the next generation.