![7 Best Tuckpointing Tools for DIY Projects [2026 Tested]](https://masonryrescue.com/wp-content/uploads/2026/02/7-Best-Tuckpointing-Tools-for-DIY-Projects-2026-Tested.jpeg)
7 Best Tuckpointing Tools for DIY Projects [2026 Tested]
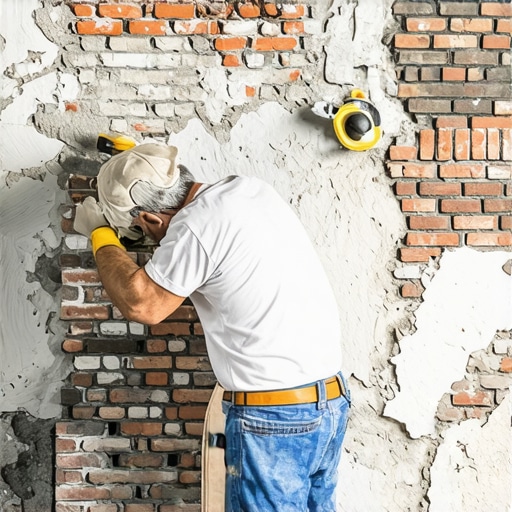
The Tragedy of the Hardened Joint
I recently walked past a 1910 Victorian that had been ‘restored’ by a contractor who clearly spent more time on his truck graphics than studying material science. He had used high-strength Portland cement on soft, coal-fired orange bricks. The result? A catastrophe. Within two winters, the faces of those historic bricks were popping off like scabs, leaving a jagged, red-dust mess. This is what happens when you ignore the sacrificial principle of masonry. My uncle, a man who could level a 40-foot lead by eye alone, used to say that the mud is the lungs of the building. If you choke the lungs with too much Portland, the whole body dies. In this guide, we aren’t just looking at shiny new gadgets; we are looking at the 2026 kit that respects the physics of the wall while giving you the precision of a forensic tech.
“Mortar should always be weaker than the masonry units it binds, ensuring that stresses are relieved through the mortar joints rather than the masonry units themselves.” – ASTM C270 Standard Specification
1. The AI-Enhanced Masonry Assessment Scanner
Before you ever touch a slicker or a bag of mud, you need to know what’s happening behind the facade. In 2026, DIYers have access to handheld AI masonry assessment tools that use thermal imaging and ultrasonic pulse velocity to detect voids. This tool isn’t just a gimmick; it tells you if you have a simple cosmetic crack or if you are looking at structural brick ties replacement. If the AI shows the internal ties have rusted to dust—what we call ‘the red rot’—no amount of pretty tuckpointing will save that wall from a lateral collapse. You use this tool to map the ‘hollow’ sounds where the brick has delaminated from the backup wythe.
2. The Variable-Speed Grinder with Cyclonic Dust Extraction
Grinding out old joints is the most soul-crushing part of the job, but it’s where the success of the bond is determined. You need a grinder that allows for ‘slow-start’ technology so you don’t jump the joint and scar the brick. Sustainable masonry materials require a clean, porous surface to bond to. If you leave old, crumbly lime in the joint, the new mud won’t ‘tooth’ into the brick. The cyclonic shroud is mandatory; not just for your lungs, but to keep the dust from settling into the pores of the brick, which acts like a bond-breaker. We want a deep, square-cut recess, usually 1/2 to 3/4 of an inch, to ensure the new mortar has enough mass to withstand the freeze-thaw cycle.
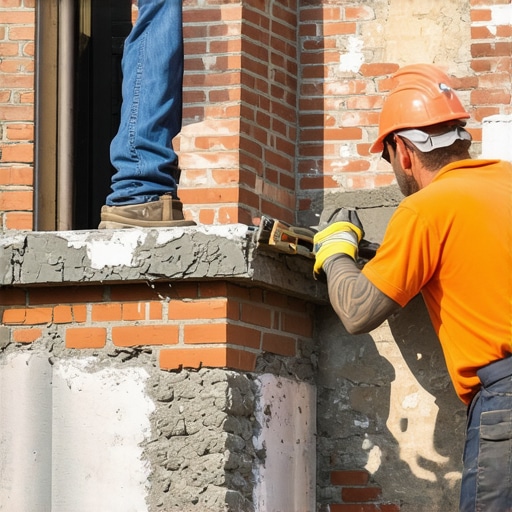
3. The Pneumatic Plugging Chisel
For historic restoration where an angle grinder is too risky—like on a soldier course over a window lintel—the pneumatic chisel is your scalpel. It mimics the hand-tapping of the old masters but at a frequency that shatters the mortar without vibrating the brick loose. When you’re working on chimney interior parging or delicate chimney flue liner installation, the last thing you want is a 4-inch diamond blade kicking back. This tool allows you to feel the ‘suction’ of the mortar. If it falls out like sand, you know the lime has carbonated and lost its structural integrity. If it’s hard as flint, you’re likely dealing with a previous ‘lick-and-stick’ repair that needs careful extraction.
“Water penetration is the single greatest threat to masonry durability, and the quality of the mortar joint is the first line of defense.” – BIA Technical Note 7
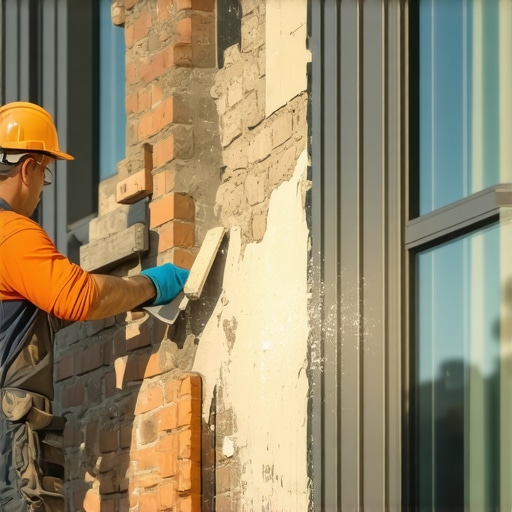
4. The Ergonomic ‘Hawk’ and Duck-Bill Trowel
The hawk is your palette, and the trowel is your brush. In the world of tuckpointing services, efficiency is king. You want a hawk with a magnesium blade to reduce wrist fatigue. When you are ‘buttering’ the joint, the mud should have the consistency of peanut butter—stiff enough to hold its shape but wet enough to provide ‘suction.’ You apply the mud in ‘lifts’ or layers. Never fill a deep joint in one pass. That leads to shrinkage cracks. You want to ‘thumb’ the first layer in, wait for it to be ‘leather hard,’ and then apply the finish coat. This prevents a cold joint where the new mortar separates from the old.
5. The Pointing Slicker (The Joint Finisher)
The slicker is what gives the wall its weather-stripping. For those in the North where the freeze-thaw cycle is a brutal reality, a concave joint is the only way to go. It sheds water effectively. For historic ‘tuck’ pointing—where you use a thin line of contrasting color to make the joints look tighter than they are—you need a specialized flat slicker. This tool compresses the mortar, closing the microscopic pores and ‘bringing the cream’ to the surface. This creates a dense, water-resistant skin. If you leave the joint ‘sandy’ or ‘open,’ water will find its way in, expand by 9% when it freezes, and pop your hard work right off the wall.
6. Robotic Mortar Injection Systems (DIY Grade)
While robotic masonry repair used to be reserved for bridge abutments and skyscrapers, 2026 has brought scaled-down injection systems to the DIY market. These are essentially high-precision ‘caulking guns’ for mortar. They are invaluable for deep-void filling where a traditional trowel can’t reach. If you are doing a tuckpointing cost estimation for a large project, these tools cut the labor time in half. However, you must ensure the mud is ‘screenable’ and doesn’t contain large aggregates that will jam the nozzle. It’s perfect for stabilizing a concrete flatwork edge where it meets a brick foundation.
7. The pH-Neutral Masonry Sponge and Soft Bristle Brush
The final tool is the most overlooked: the cleanup kit. You cannot leave ‘smears’ on the brick face. Once mortar dries, it undergoes a chemical reaction that makes it nearly impossible to remove without acid, and acid is the enemy of old brick. You want to wait until the mud is ‘crumbly’ to the touch, then use a stiff brush to knock off the excess. A final wipe with a damp (not soaking) sponge cleans the brick face without washing the lime out of the joint. This is the difference between a professional-looking tuck pointing job and a messy ‘handyman special.’
The Physics of the 2026 Masonry Wall
In the North, we deal with the expansion of ice. In the South, we deal with thermal expansion. If you are working in a hot climate, you must ‘mist’ the wall before you start. If you put wet mud onto a hot, dry brick, the brick will suck the moisture out of the mortar so fast that the mortar ‘burns.’ It won’t hydrate properly, and it will crumble within a year. Always work in the shade if possible, and keep your materials cool. Masonry is a slow game. It’s about the chemistry of calcium hydroxide turning into calcium carbonate over decades. If you respect that process, your wall will outlive you. If you don’t, you’ll be calling for professional tuckpointing services to fix your ‘fix’ by next spring.