Tuckpointing Curved Walls: 4 Pro Tactics for 2026 Success
The Anatomy of a Radius: Why Curved Masonry Defies the Standard Fix
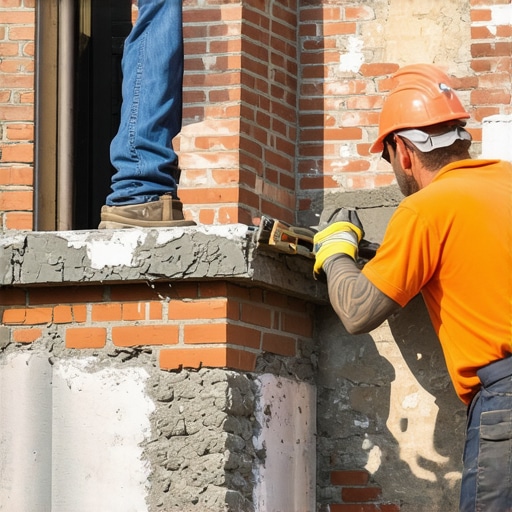
I remember standing on a hanging scaffold in the humid heat of July, staring at a 1920s Victorian turret that looked like it was shedding its skin. The homeowner was distraught; a previous ‘pro’ had smeared gray Portland cement into the joints of a soft, orange-red brick curve. Within three winters, the faces of those bricks weren’t just cracking—they were exploding. My Uncle used to tell me that a curved wall is like a human spine; it’s designed for movement and grace, but if you lock those joints with the wrong material, the whole structure starts to fail under the weight of its own geometry. That job taught me a lesson that modern ‘lick-and-stick’ crews never learn: the radius dictates the recipe.
When you are dealing with historic tuckpointing on a curved surface, you aren’t just filling gaps. You are managing complex vectors of stress. In a straight wall, thermal expansion moves laterally. In a curve, that expansion pushes outward, creating a tension profile that can shear the ‘tooth’ of the mortar right off the brick if the mix is too rigid. As we head into 2026, the technology for structural masonry inspection has evolved, but the physics of a lime-based joint remain as stubborn as ever.
“Mortar should always be weaker than the masonry units it binds, acting as a sacrificial element to prevent the irreversible damage of brick spalling.” – BIA Technical Note 1
Tactic 1: The Forensic Start with AI Masonry Assessment
Gone are the days of just tapping a wall with a hammer and guessing where the voids are. To truly succeed with curved walls today, we utilize AI masonry assessment. By using high-resolution LiDAR scans and thermography, we can identify exactly where moisture is pooling behind the radius. On a curved wall, gravity doesn’t always pull water straight down; it follows the ‘swale’ of the masonry. If you don’t find the source of the dampness—often a failing chimney cap replacement or a compromised coping stone—you’re just ‘buttering’ over a disaster. The AI allows us to map the internal ‘honeycombing’ of the old mud, ensuring that our repointing actually bonds with the substrate rather than just sitting on the surface like a cosmetic mask.
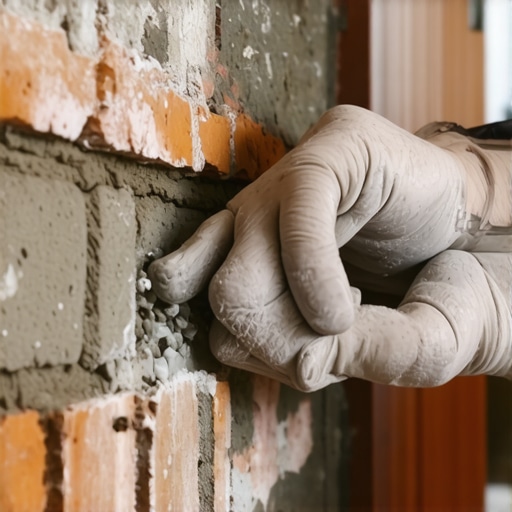
Tactic 2: High-Performance Mortar Mixes and the ‘Suction’ Test
If you’re grabbing a bag of Type S off the shelf for a historic restoration, you might as well be signing the wall’s death warrant. For curved surfaces, we need high-performance mortar mixes that respect the ‘breathability’ of the original clay. I’m talking about Type O or specialized lime-putty mixes that have a lower compressive strength than the brick itself. Before I even put mud on the hawk, I check the ‘suction’ or the Initial Rate of Absorption (IRA). If the brick is too dry, it will suck the water out of the mortar instantly—a process we call ‘burning’ the joint. This leads to a ‘cold joint’ where no actual chemical bond occurs. We pre-wet the radius, sometimes for 24 hours, to ensure the brick and mortar reach a state of equilibrium during the hydration process.
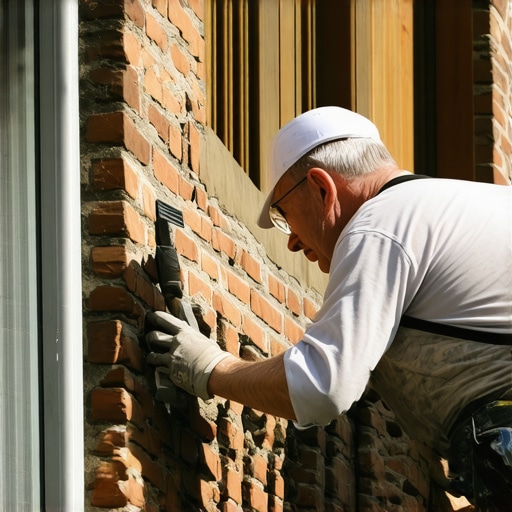
Tactic 3: 3D Printed Masonry Repairs for Custom Radii
One of the hardest parts of tuckpointing brick walls on a curve is finding replacement units when the originals have spalled beyond repair. You can’t just shove a rectangular brick into a tight radius without creating ‘dog-tooth’ corners that catch water. In 2026, we are increasingly using 3D printed masonry repairs. We can scan a surviving intact brick from the turret and print a ceramic-composite replacement that matches the exact curvature and ‘face’ of the original. This allows for a soldier course that flows naturally around the bend, maintaining the structural integrity and the aesthetic ‘ring’ of the wall. When combined with masonry staining, these repairs become invisible to the naked eye, preserving the historical value of the property.
“The selection of mortar for historic masonry must consider the chemical and physical compatibility with the existing materials to ensure long-term durability.” – ASTM C270 Standard Specification for Mortar for Unit Masonry
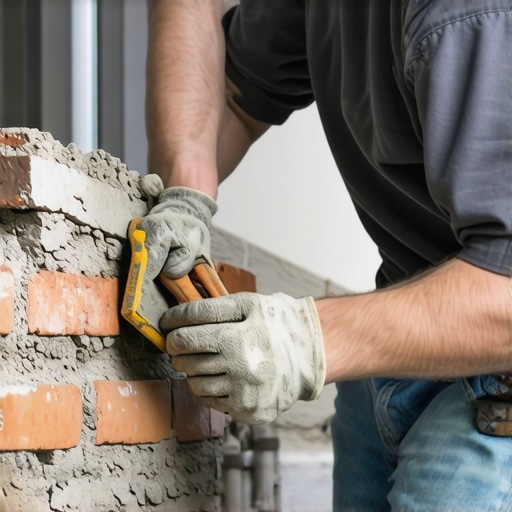
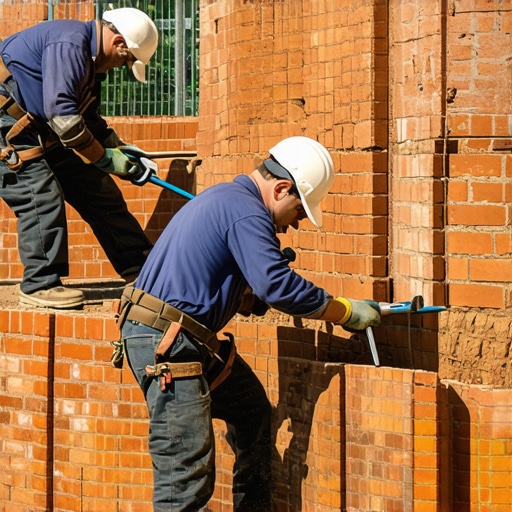
Tactic 4: The Art of the Slicker and the ‘Deep Strike’
The manual labor of the ‘slicker’ is where the men are separated from the boys. On a curved wall, your joint depth is rarely uniform. The ‘outer’ edge of the joint is wider than the ‘inner’ edge. If you don’t strike the joint deeply—grinding out at least 3/4 of an inch of the old, failing mud—you won’t have enough ‘bite’ for the new material. We use a curved ‘slicker’ tool specifically calibrated to the radius of the wall. This isn’t just for looks; it’s about compacting the mud. You have to ‘butter’ the joint in lifts, allowing the first layer to reach a ‘thumbprint hard’ state before applying the finish. This prevents the mortar from sagging under its own weight on the curve.
Integrating Modern Resilience: Green Roofs and Fire Ratings
As urban environments evolve, we’re seeing more green roofing masonry integration. When a curved wall meets a living roof, the hydrostatic pressure is immense. This requires fire-rated masonry installation techniques that also account for constant moisture exposure. We often integrate drainage mats behind the tuckpointing in these areas, ensuring that any water that penetrates the brick can weep out through the ‘weep holes’ rather than sitting in the core and causing efflorescence. It’s a delicate balance of 19th-century craft and 21st-century environmental science. Don’t let a ‘handyman’ tell you a bit of caulk will fix a hairline crack on a curve. A crack on a radius is a symptom of a structural shift, and ignoring it is like ignoring a leak in a dam. Do it once, do it right, and let the masonry breathe as it was meant to a century ago.