5 Pro Tactics for Brick Efflorescence Removal in 2026
The White Ghost in the Wall: A Forensic Look at Efflorescence
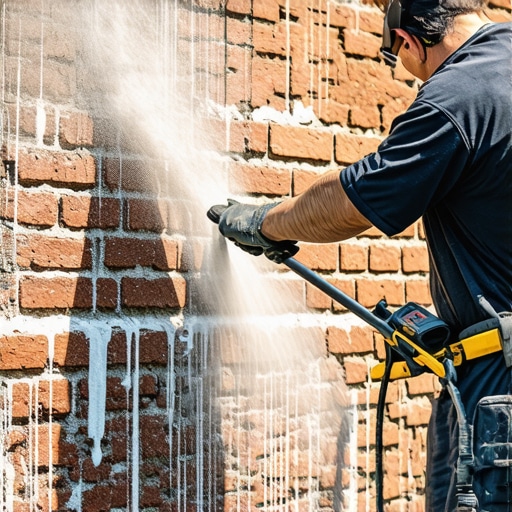
I remember a cold November morning in a coastal town where a client had spent six figures on a sprawling brick estate. Three months after the build, the lower three feet of the entire facade looked like it had been dusted with powdered sugar. My mentor, an old-school mason named Silas, didn’t reach for a brush first. He reached for his pocketknife and scraped a bit of that white powder onto his tongue. ‘Bitterness is the clay leaching its own soul,’ he told me. ‘Saltiness is the groundwater winning the war.’ Most contractors see white stains and reach for a pressure washer—a move that’s about as smart as putting a screen door on a submarine. If you don’t understand the capillary physics of brick efflorescence removal, you’re just feeding the beast more water to push more salts to the surface. By 2026, the industry has moved beyond the ‘acid-and-pray’ method. We are now in the era of molecular mitigation and structural interdiction.
“Efflorescence is the deposit of soluble salts on the surface of masonry, or in the pores of masonry, which is caused by the migration of water through the unit.” – BIA Technical Note 23
The Physics of the ‘Wick’: Why Your Walls are Sweating Salt
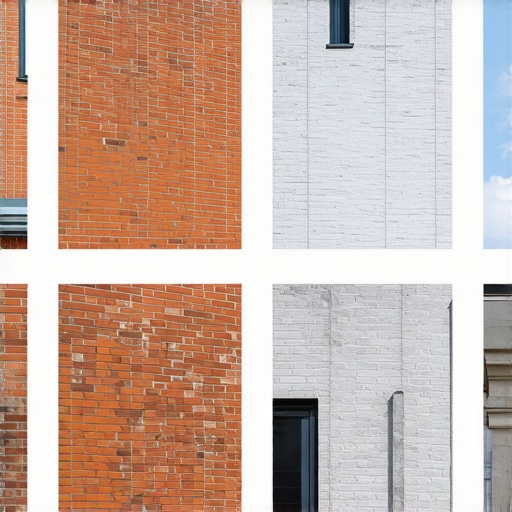
To understand brick wall restoration, you have to look at a brick not as a solid block, but as a dense network of microscopic tubes. In the frozen North, where the freeze-thaw cycle is a relentless hammer, this pore structure is where the battle is lost. Water is the transport mechanism. It dissolves the sodium, potassium, and calcium sulfates found in the mud or the brick itself. As the sun hits the wall, it creates a vapor pressure differential. The moisture moves toward the exterior to evaporate, but the salts cannot turn into gas. They crystallize at the surface, expanding and eventually causing the brick to ‘spall’ or pop its face off. When water freezes, it expands by roughly 9%. If those salts have already choked the pores, that 9% expansion has nowhere to go but out, shattering the fire-clay skin of your historic masonry. This is why historic brick salvage is so delicate; once that hard outer crust is gone, the soft interior of the brick is exposed to the elements like an open wound.
Tactic 1: The Dry-Purge and Mechanical Extraction
The first pro tactic is the one most ‘lick-and-stick’ handymen ignore: mechanical removal without a drop of water. In brick column repair, especially on load-bearing structures, adding water to efflorescence is like throwing gasoline on a fire. You want to use a stiff natural fiber brush or a low-RPM soft-wire wheel to break the crystalline bond while it’s dry. We call this ‘opening the tooth’ of the masonry. By removing the bulk of the sulfates while they are in a solid state, you prevent them from being re-absorbed into the substrate. This is critical when dealing with metallic masonry finishes that can react chemically with liquid cleaners, leading to permanent staining or ‘green breakout’ from vanadium salts.
Tactic 2: Vapor-Permeable Chemical Chelating
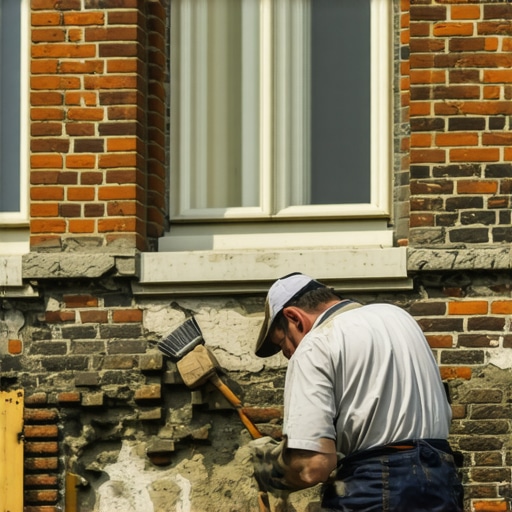
In 2026, we’ve moved away from muriatic acid. It’s too aggressive; it eats the slicker-finished joints and leaves behind chloride salts that cause even worse efflorescence later. Instead, we use chelating agents. These molecules wrap around the calcium and sodium ions, holding them in suspension so they can be rinsed away without penetrating deeper into the core. When performing structural repointing, your chemical choice determines the longevity of the repair. If you use a harsh acid on a wall requiring tuckpointing brick walls, you’ll degrade the bond between the new mortar and the old brick before the mud has even fully hydrated.
“The presence of moisture is the most significant factor in the deterioration of masonry systems.” – ASTM International Standards
Tactic 3: The Capillary Break and Capstone Replacement
You can’t fix the surface if the roof is leaking. In many cases, white staining on a retaining wall is a symptom of a failed top seal. Retaining wall capstone replacement is often the only permanent fix for chronic efflorescence. If the capstone isn’t overhanging the wall by at least 1.5 inches with a proper drip-edge groove, water will ‘roll’ back under the stone and saturate the wall’s core. We look for honeycombing in the grout beds under the caps. Once water gets in there, hydrostatic pressure pushes it through the wall, carrying every mineral it finds along the way. Replacing these caps with a high-density, low-absorption stone and a modern flashing membrane is the ‘surgery’ that cures the ‘rash’.
Tactic 4: Structural Brick Ties Replacement and Internal Drainage
Sometimes the salt isn’t coming from the ground; it’s coming from the rusted steel inside the wall. Structural brick ties replacement is a forensic necessity when we see localized efflorescence patterns that follow the lines of the internal framing. As old corrugated ties rust, they expand and create micro-cracks. These cracks become super-highways for moisture. By 2026, we utilize stainless steel helical ties that provide a ‘drip-fin’ to prevent water from traveling across the cavity. This is combined with clear-hole weep vent installation to ensure the wall ‘breathes’ from the inside out, preventing the cold joint failures common in poorly drained masonry.
Tactic 5: Advanced Mortar Matching and Sacrificial Repointing
The final tactic involves the mortar matching services that separate the masters from the amateurs. If you use a modern, high-strength Portland cement (Type S) to repoint an old, soft-fired brick wall, you are signing the wall’s death warrant. The mortar must be more ‘breathable’ and softer than the brick—it must be the sacrificial element. This is the structural repointing philosophy. We use lime-based mortars that allow salt migration to happen within the mortar joint rather than the brick face. It’s easier to replace a mortar joint in 20 years than it is to replace a shattered historic brick today. When we butter the joints, we ensure the hawk is held at a specific angle to prevent ‘smearing,’ which can trap salts behind a thin film of cement paste, leading to ‘shiners’ on the wall surface.
The Forensic Conclusion: Do It Once, Do It Right
Efflorescence is a messenger. It tells you that your wall is struggling with a moisture management problem. Whether you are dealing with a brick column repair or a full-scale brick wall restoration, the goal isn’t just to clean the surface—it’s to change the thermodynamics of the assembly. Stop the liquid water, allow the vapor to escape, and match your materials to the existing physics of the building. Anything else is just a ‘handyman special’ that will look just as white and crusty by next spring. Masonry isn’t just stacking rocks; it’s managing the eternal struggle between mineral and water. Respect the suction, mind the mud, and never trust a wall that doesn’t have a way to dry out. It’s about preserving the value of the home and the integrity of the craft, one slicker joint at a time. This is how we ensure that the masonry we build or restore in 2026 will still be standing, salt-free, in 2126.


This article offers a really comprehensive overview of how to approach efflorescence from a forensic perspective. I particularly appreciate the emphasis on the importance of understanding the physics behind salt migration and moisture movement in masonry. It’s clear that the old method of just power washing isn’t only ineffective but potentially damaging, as it pushes salts deeper into the material. In my experience working on historic brick structures, I’ve seen how crucial it is to use lime-based mortars that are breathable and match the original materials. It helps not just the longevity of the repair but also the preservation of the structure’s character. What’s interesting is how so many overlooked elements, like rusted ties or capstone design, can drastically influence moisture infiltration. I’m curious, has anyone experimented with different weep vent designs or internal drainage systems to enhance the effectiveness of the moisture management, especially in severe climates? I’d love to hear strategies that others have found successful.