
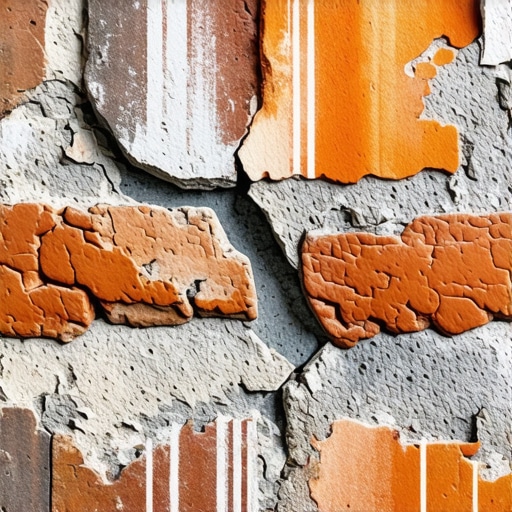
The Forensic Scene: A $50,000 Hairline Mistake
The homeowner stood on his porch, pointing with pride at a perfectly smooth, gray bead of polyurethane caulk he had run down a jagged stair-step crack in his 1924 Chicago-style bungalow. To him, it looked sealed. To me, a third-generation mason, it looked like a death sentence. I pulled my borescope from my kit and fed the lens into a small weep hole just below the repair. What I saw on the monitor confirmed my suspicion: the steel lintel was a jagged, orange ghost of its former self. The structural steel had rusted to dust because that ‘sealant’ had trapped a gallon of water inside the wall with nowhere to go. This is the reality of cracked brick wall repair when handled with a tube of Goo instead of a trowel of mud.
“Water penetration is the single greatest threat to masonry durability, and its entrapment within the wall assembly is the primary cause of accelerated material failure.” – BIA Technical Note 7
The Physics of the Vapor Drive and the Caulk Trap
Brick is not a solid, impermeable wall; it is a breathing, porous skin. Under a microscope, a common clay brick looks like a sponge. When it rains, the brick absorbs water through capillary action. When the sun comes out, that water is pulled back to the surface as vapor—a process we call ‘vapor drive.’ When you smear caulk over a crack, you aren’t fixing a leak; you are creating a one-way valve. You are letting liquid water in through smaller, unseen fissures, but you are blocking the vapor from escaping. This leads to a nightmare known as sub-florescence. Unlike efflorescence, where salts crystallize on the surface (the white fuzzy stuff), sub-florescence occurs when those salts crystallize inside the brick’s pores. The pressure of these growing crystals is immense, eventually blowing the face off the brick in a process called spalling.
The 9% Rule: Why Freeze-Thaw Damage Restoration Fails
In northern climates, the physics gets even more violent. When water is trapped behind a bead of caulk and the temperature drops, that water undergoes a phase change, expanding by roughly 9% in volume. There is no ‘give’ in a frozen wall. This expansion exerts thousands of pounds of pressure per square inch against the back of your brick face. This is why freeze-thaw damage restoration is such a high-volume business in the winter months; people try to ‘waterproof’ their homes with porous stone sealers or caulk, only to find their brick faces lying on the sidewalk after the first hard freeze. A proper masonry waterproofing solution isn’t a coating; it’s a drainage strategy.
The Chemistry of ‘Mud’ vs. Modern Sealants
When we talk about ‘mud’ (mortar), we aren’t just talking about glue. For a pre-1940s home, the mortar must be the ‘sacrificial lamb.’ In the old days, we used lime and sand. Lime has a lower Young’s Modulus of elasticity than the brick itself. This means when the house shifts—and every house shifts—the mortar takes the stress and cracks, saving the brick. More importantly, lime mortar has a property called ‘autogenous healing.’ When a small crack forms, rainwater dissolves some of the free lime, which then redeposits into the crack and recarbonates. Caulk has zero healing properties. Once the bond breaks—and it will, because caulk cannot handle the high pH of masonry—it becomes a funnel for moisture.
“Mortar should always be weaker than the masonry units it binds, ensuring that stresses are relieved through the joints rather than the brick.” – ASTM C270
Beyond the Wall: Chimneys and Foundations
The danger extends upward. I’ve seen homeowners attempt chimney flashing repair using roofing tar or caulk instead of proper lead or copper counter-flashing. This inevitably fails, leading to chimney damper repair needs as the internal cast iron components rust shut from the slow, steady drip of trapped condensation. Similarly, in the basement, people try to caulk foundation cracks while ignoring the retaining wall batter correction needed for their exterior landscape. If your retaining wall is leaning, it’s often because of hydrostatic pressure. Caulking the cracks in the wall won’t stop the tons of saturated earth from pushing it over. You need drainage, not a sealant.
Modern Solutions: From Lifts to 3D Printing
While I’m a stickler for the old ways, I recognize the value in new technology when applied correctly. For foundations that have sunk, self-leveling masonry lifts and helical piers are far superior to just ‘patching’ the crack. We are even seeing the rise of 3D printed masonry repairs, where custom-scanned brick replacements can be printed to match the exact texture and ‘tooth’ of a 100-year-old facade. However, even the most high-tech concrete flatwork services must respect the basics: compaction and drainage. If you are pouring a patio, you need 8 inches of compacted road base, not just 4 inches of ‘hope.’ Without it, you’ll be looking for cracked brick wall repair on your house within two years as the slab heaves against the foundation.
The Professional’s Verdict: How to Actually Fix a Crack
If you see a crack, put down the caulk gun. First, determine the cause. Is it settlement? Is it thermal expansion? If it’s a stable crack, the answer is repointing. You must rake out the old joints to a depth of at least 1 inch (or 2.5 times the width of the joint), clean the ‘suction’ of the brick by wetting it, and then ‘butter’ the joints with a mortar that matches the original’s compressive strength and vapor permeability. Use a ‘slicker’ or a jointer tool to strike the joint, compressing the mud to create a weather-tight seal that still allows the building to breathe. Anything less isn’t a repair; it’s just a temporary mask for a growing catastrophe. Do it once, do it right, or be prepared to pay me a lot more later to fix the mess that caulk left behind.