
The Telltale Tilt: Why Your Wall is Telling You a Story
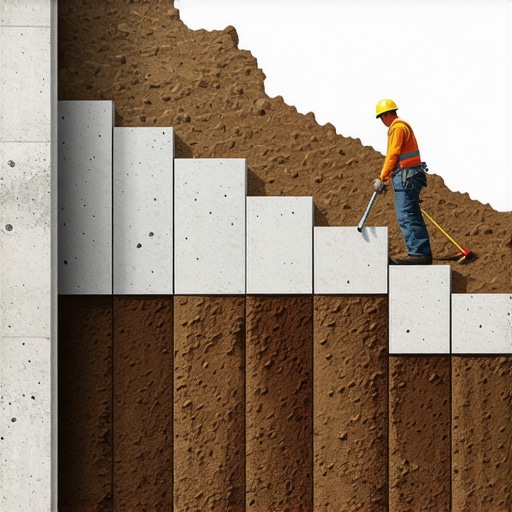
When I walk up to a job site, I don’t look at the wall first; I look at the ground and the sky. Last year, I was called to a property where a massive $85,000 fieldstone retaining wall was bowing out like a beer belly. The homeowner thought it was just ‘settling.’ I put my level on the capstone and it was pitching three degrees back toward the hill. I stood looking at a wall that was effectively acting as a massive funnel, directing every gallon of rainwater straight into the structural core instead of shedding it. The contractor had forgotten one thing: the capstone is the roof of the wall. Without a proper ‘umbrella,’ the physics of hydrostatic pressure will win every single time. Most masonry repair services treat the symptoms, but if you don’t fix the cap, you’re just putting a fresh coat of paint on a sinking ship.
The Physics of the Cap: More Than Just an Aesthetic Edge
A capstone isn’t just a decorative finish; it is a functional component of the wall’s hydraulic management system. In the world of masonry forensic structural inspection, we talk about ‘the drip.’ If your capstone doesn’t have a minimum one-inch overhang with a hand-cut or machined drip groove on the underside, you are inviting disaster. Water is a persistent enemy. Through capillary action, it will crawl horizontally across the underside of a stone and then soak directly into the bed joint of your brick or stone veneer. Once that moisture is inside the wall, the clock starts ticking. In northern climates, that water expands by 9% when it freezes, creating internal ‘heave’ that blows the face off the masonry—a process we call spalling.
“Water penetration is the single greatest threat to masonry durability. Proper flashing and capping are the primary defenses against premature structural failure.” – BIA Technical Note 7
The Chemistry of the ‘Mud’ and the Tooth of the Stone
Choosing the right material for your retaining wall capstone replacement requires understanding the mineralogy of the stone and the ‘suction’ or Initial Rate of Absorption (IRA) of the unit. If you are using a dense granite cap on a softer brick wall, the thermal expansion rates are different. During a 100-degree summer day, that granite is going to expand more than the clay brick. If you used a high-strength Portland cement—what we call ‘hot mud’—it won’t have the flex to handle that movement. You’ll end up with a vertical crack that shears right through your brick veneer. For restoration, I always lean toward a Type N mortar or even a lime-based mix for historic brick infill panel repair. You want the mortar to be the ‘sacrificial lamb’—it should fail before the stone or brick does. It’s much cheaper to repoint a joint than to replace a shattered 200-pound limestone slab.
When Sinking Becomes a Structural Emergency
Sometimes, the problem isn’t just the cap; it’s the footing. If you see ‘stair-step’ cracking or a horizontal shift where the wall meets the ground, you aren’t looking at a simple repair; you’re looking at a soil failure. This is where foundation helical pier installation comes into play. We see this often in areas with ‘fat clays’ that swell and shrink. If the wall is sinking, the capstone will often be the first thing to separate, leaving a gaping maw for more water to enter. I’ve seen ‘handyman specials’ where they just throw a concrete patch over the gap. That’s a death sentence for the wall. The patch traps the moisture, the rust starts on the internal structural brick ties, and within two seasons, the steel has turned to dust and the wall is on the lawn. You need to stabilize the earth before you ‘butter’ the stone. We use a slicker to ensure the joints are compressed and concave to shed water, but that only works if the wall stays still.
“The choice of mortar must be compatible with the physical properties of the masonry unit to ensure long-term structural integrity and moisture resistance.” – ASTM C270 Standard Specification
The Hard Truth About Material Selection
Don’t get seduced by ‘lick-and-stick’ cast stone that looks like a bargain. Many of these modern precast caps are made with low-density concrete that lacks proper air-entrainment. They look great for three years, then they start ‘honeycombing’—where the surface starts to pit and crumble. If you’re doing a brick arch restoration or a chimney crown repair, you want a material with a high ‘tooth’ or surface profile that allows the mortar to mechanical bond. Smooth, non-porous stones might look sleek, but they have poor ‘grab’ and are the first to vibrate loose. Whether you are doing a brick patio restoration or a massive retaining wall, remember the old master’s rule: if you can’t hear the stone ‘ring’ when you tap it with a trowel, it’s too soft for the job. Do the work once, do it right, and ensure your capstone has the overhang and the ‘mud’ to survive the next fifty winters. The alternative is a pile of rubble and a very expensive lesson in the physics of damp earth. Always look for the ‘cold joint’ in previous repairs; it’s a roadmap of where the last guy failed, and it’s where you need to start your forensic recovery.