
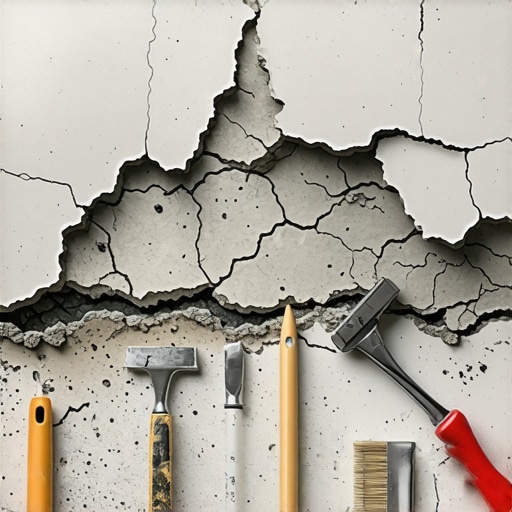
The Anatomy of a Dying Brick: When the Face Falls Off
I remember my Uncle Silas standing in front of a 1920s Tudor in a coastal town, watching the brick faces drop like autumn leaves. He didn’t reach for a bucket of cement; he reached for a magnifying glass. He taught me that when a brick spalls near the foundation line, it isn’t just a cosmetic failure. It is a forensic signature of a building that is literally choking on its own moisture. If you see a pile of red dust and shards on your walkway, you aren’t looking at old age. You are looking at the violent result of subflorescence—where salts crystallize inside the pore structure of the masonry, generating internal pressures that can exceed 2,000 psi, effectively exploding the brick from the inside out.
“Water penetration is the single greatest threat to masonry durability. Moisture must be managed through proper detailing, drainage, and material selection to prevent premature deterioration.” – BIA Technical Note 7
The Physics of the Spall: Why Your Foundation is Flaking
To understand how to fix spalling, you have to respect the capillary action of the earth. Soil is a reservoir. Through a process called capillary rise, moisture travels upward through the microscopic straw-like pores of your brick or stone. In a world of foundation waterproofing failures, this water carries dissolved minerals—sulfates and chlorides—into the masonry. When that water reaches the surface and evaporates, the salts stay behind. If they evaporate on the surface, you get white powder (efflorescence). If they trap themselves just behind the surface because some ‘handyman’ applied a non-breathable sealer, they crystallize there. This is the ‘death squeeze.’ In northern climates, the 9% expansion of freezing water turns this into a demolition crew. The face of the brick, the ‘fire-skin’ that protects the soft interior, simply shears off.
The Forensic Inspection: Beyond the Hairline Crack
Before you ever mix a batch of mud, you need to be a detective. Chimney leak detection and drone chimney inspections have taught us that moisture often starts high and ends low. I’ve seen stone facade restoration projects where the owner spent $20,000 on the foundation, only to realize the water was coming from a cracked chimney crown repair job three stories up. We now use digital twin masonry projects to map these moisture pathways. If the spalling is concentrated within the first three courses of brick above the grade, your problem is likely a lack of a thru-wall flashing or a failed foundation waterproofing membrane. If the joints are hard and the brick is soft, someone used the wrong mortar. Modern Portland cement is a brittle, unforgiving mistress for historic clay. It doesn’t breathe, it doesn’t move, and it forces the brick to take all the stress until it snaps.
The Restoration Protocol: Doing it Once
Repairing spalled masonry isn’t about patching; it’s about historic tuckpointing and material compatibility. You have to cut out the diseased units. This means using a diamond blade to stitch out the damaged bricks without vibrating the life out of the surrounding wall. Tuckpointing weatherproofing doesn’t mean slathering the wall in silicone. It means stone facade restoration techniques that allow the wall to breathe. You need a sacrificial mortar. In my book, that means a Type O or a lime-putty mix. The mortar must be physically weaker and more permeable than the brick itself. If the wall moves, the mortar should crack, not the brick. If water needs to exit, it should evaporate through the mortar joints, not the brick face.
“Mortar should be designed to be ‘sacrificial’ to the masonry units. It is far easier and cheaper to repoint a wall than to replace the masonry units themselves.” – ASTM C270 Standard Specification for Mortar for Unit Masonry
The ‘Mud’ and the ‘Butter’: Executing the Repair
When you start to butter your replacement bricks, you aren’t just slapping goop on a trowel. You are creating a bond. For outdoor fireplace rebuild work or foundation repairs, you must pre-wet the existing masonry. If you put wet mud against a bone-dry historic brick, that brick will suck the hydration right out of the mortar before it can cure. This is called ‘flash setting.’ The result is a cold joint with zero structural integrity. You want the mortar to have a ‘suction’ that holds the hawk steady. Use a slicker to strike the joints when they are ‘thumb-print hard.’ This compacts the lime and sand, creating a weather-tight seal that looks like it was laid in 1910, not 2024. For those dealing with modular masonry construction, the physics remain the same: manage the water, or the water will manage you.
The Hardscape Truth: Why the Grade Matters
Most spalling at the foundation is a landscaping sin. If your mulch is piled up against the soldier course, you are essentially wrapping your house in a wet rag. You need a minimum of 6 inches of clearance between the soil and the start of your masonry. Foundation waterproofing starts with a shovel and a slope. If the ground doesn’t fall away from the wall, no amount of historic tuckpointing will save you. I’ve seen modular masonry construction projects fail in three years because the builder ignored the hydrostatic pressure building up behind the brick ledge. This isn’t just about aesthetics; it’s about the structural survival of the building’s skin. Don’t be the homeowner who buys a ‘quick fix’ in a spray bottle. Respect the stone, respect the suction, and for the love of the craft, let the building breathe.