
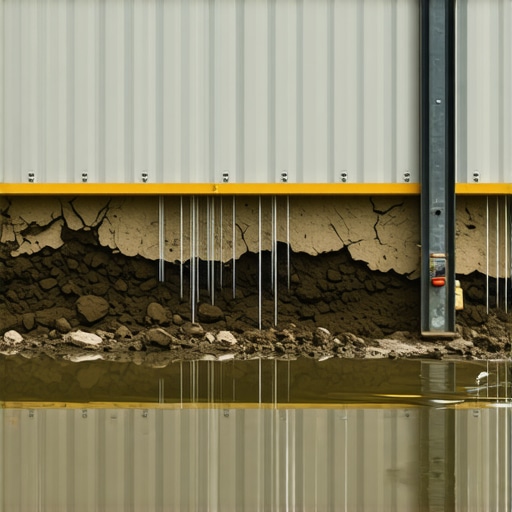
The homeowner thought it was just a hairline crack. But when I put my scope inside the drainage gap, I saw the structural steel was rusted to dust and the geogrid had been sheared like wet paper. I’ve seen this a thousand times. You spend forty grand on a beautiful modular block retaining wall, and three years later, it’s leaning toward your pool like a drunk at a wedding. You call the guy who built it, and he tells you the ground settled. He’s lying. The ground didn’t settle; the water took over. As a third-generation mason, I can tell you that a wall is only as good as the water it moves.
The Physics of Hydrostatic Pressure
Let’s talk about the weight of failure. When you have a modular wall—those stackable concrete units that look like stone—you aren’t just holding back dirt. You are holding back a vertical ocean. Water weighs approximately 62.4 pounds per cubic foot. When your backfill becomes saturated because of poor drainage, that weight is pushed directly against the back of your blocks. This is what we call hydrostatic pressure. It doesn’t just push; it liquefies the soil behind the wall, turning your stable backfill into a heavy slurry that no amount of ‘lick-and-stick’ masonry can withstand. If you didn’t use sustainable masonry materials like clean, angular 57-stone for your drainage column, you’ve essentially built a dam, not a wall.
“Water penetration is the single greatest threat to masonry durability. Without a clear path for moisture to exit the assembly, structural integrity is compromised by the inevitable buildup of lateral fluid pressure.” – BIA Technical Note 7
In my forty years on the trowel, I’ve seen contractors use ‘pit run’ or native soil as backfill to save a few bucks. It’s a death sentence for the project. Native soil contains fines—tiny particles of clay and silt—that clog up whatever measly drainage pipe they might have thrown in the mud. Once those fines migrate into your stone core, the ‘tooth’ of the aggregate is lost. The friction that holds the system together vanishes. You end up with freeze-thaw damage restoration costs that exceed the original price of the wall because the water trapped in that silt expands by 9% every time the temperature drops, punching the blocks out of alignment.
Micro-Zooming: The Chemistry of Efflorescence and Failure
You might notice a white, powdery substance on your sinking wall. That’s brick efflorescence removal territory, but it’s also a forensic clue. This is calcium hydroxide leaching out of the concrete blocks. When water lingers inside the wall because it can’t find a weep hole, it dissolves the salts within the cement. As that water eventually evaporates from the face of the block, it leaves the salt behind. It’s the wall’s way of screaming that it’s drowning. If you see this, along with a ‘wavy’ line in your soldier course, your base is likely softening. We call it ‘honeycombing’ when the internal structure of the base aggregate starts to fail because of constant saturation. You need chimney leak detection levels of precision to find where that water is entering—often it’s a poorly graded patio or a gutter downspout dumping right behind the wall.
The Anatomy of a Masonry Rescue
When I’m called in for a masonry rescue after disaster, the first thing I look at isn’t the blocks; it’s the ‘daylight.’ Where does the drainage pipe exit? If I don’t see a 4-inch perforated pipe daylighting every 30 to 50 feet, the wall was doomed before the first block was ‘buttered’ with adhesive. For a proper stone wall repair, we often have to perform structural repointing on the footings or, in the case of modular systems, excavate the entire ‘reinforced zone.’ This is where we use sustainable block cutting techniques to minimize waste while we pull the system apart to install a proper drainage chimney.
“The accumulation of water within the reinforced soil mass is the primary contributor to segmental retaining wall instability.” – NCMA TEK 12-1A
If you’re looking at tuckpointing tools for DIY to fix a sinking wall, put the slicker down. You can’t joint-fill your way out of a foundation failure. You need to address the ‘toe’ of the wall. If the soil at the base (the toe) stays wet, it loses its shear strength. The entire mass of the wall starts to rotate. I’ve seen guys try to ‘mud’ over the cracks, but that’s like putting a Band-Aid on a broken leg. You need to manage the surface water with swales and ensure the internal drainage column is wide enough—at least 12 inches of clean stone—to handle a hundred-year flood event.
The Long Game: Restoration and Prevention
Whether you are dealing with a chimney sweep and repair or a massive retaining wall, the principle remains the same: the mason’s job is to manage gravity and moisture. In older, historic masonry, we use soft lime mortars because they allow the wall to breathe. In modern modular work, we don’t have that luxury. These blocks are hard and unforgiving. If the drainage fails, the block won’t give; the whole system will move. For those in freeze-thaw climates, this movement is accelerated every winter. The ice acts like a hydraulic jack, slowly ratcheting the wall outward, an inch every season, until the center of gravity is lost. Don’t wait until the wall is in the yard. If you see the ‘ring’ of the block change—if it sounds dull when tapped with a hammer—it’s saturated. Fix the drainage, or prepare to build it twice.
HowTo: Identifying Wall Drainage Failure
- Check for Efflorescence: Look for white crusty salt deposits on the lower third of the wall.
- Inspect Weep Holes: Ensure the small gaps between blocks are clear of debris and soil.
- Monitor the Capstones: If the top blocks are separating, the wall is likely rotating forward due to pressure.
- Locate the Outfall: Find where the drainage pipe exits. If it’s dry after a rainstorm, the system is clogged.