
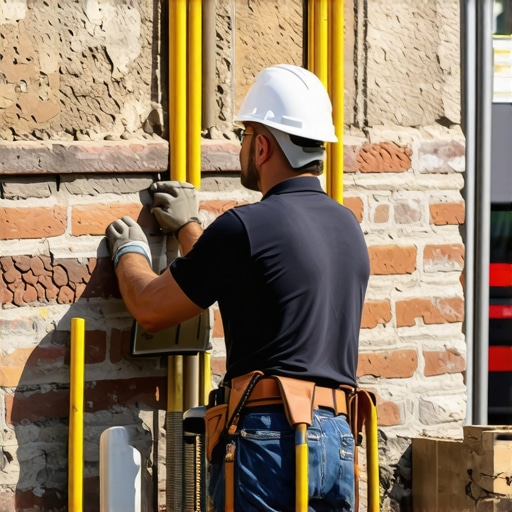
The Forensic Scene: A Wall on the Brink
The homeowner thought it was just a hairline crack. But when I put my scope inside that dark void between the outer wythe and the structural backup, I saw the structural steel was rusted to dust. It is a sight that makes any seasoned mason’s stomach turn. The outer skin of the building—thousands of pounds of fired clay—was essentially standing on its own, unmoored from the structure like a ship without an anchor. This is the ‘pregnant wall’ syndrome. In my forty years of structural masonry inspection, I have seen these failures happen in slow motion, fueled by decades of water ingress and the chemical breakdown of inferior corrugated wall ties. When you see a brick wall starting to belly out, you aren’t just looking at an aesthetic blemish; you are looking at a gravity-defying catastrophe waiting for the right gust of wind.
“Water penetration is the single greatest threat to masonry durability.” – BIA Technical Note 7
The Physics of Separation: Why Your Wall is ‘Zipping’
In older multi-wythe construction, the integrity of the wall relied on ‘headers’—bricks turned sideways to bridge the gap between the inner and outer layers. In modern masonry, we moved to metal ties. The problem? Most of those ties from thirty years ago were galvanized steel, which eventually succumbs to the alkaline environment of the mortar or the acidic nature of rain. Once the tie corrodes, it undergoes ‘rust jacking.’ As the metal oxidizes, it expands up to ten times its original volume. This expansion creates internal pressure that pops the faces of the bricks—a process we call brick spalling prevention failure—and eventually snaps the connection entirely. This is why brick wall restoration is not just about the surface; it is about the internal skeleton.
In the North, where the freeze-thaw cycle is a brutal reality, this separation is accelerated. Water gets into that gap, freezes, and expands by 9%. It acts like a hydraulic jack, slowly pushing the brick veneer away from the studs or the CMU backup. If you are dealing with a historic property, you also have to worry about the difference in density between the original historic brickwork repointing materials and modern ‘hard’ mortars. If a previous contractor used high-strength Portland cement on soft, 19th-century bricks, the wall cannot breathe. The moisture gets trapped, the bond fails, and the wall begins its outward march.
The Solution: The Science of the Helical Tie
We don’t always have to tear the wall down. The helical tie is a piece of engineering genius—a stainless steel finned rod that we drive through the brick and into the backup material to re-establish the structural connection. It relies on a mechanical ‘interference fit’ rather than chemical adhesives, which can be finicky in damp masonry. The ‘tooth’ of the helical fins cuts a precise groove into the brick, providing immense pull-out resistance without creating the localized stress of an expansion bolt. This is critical when dealing with brick quoin repair or delicate corner work where the masonry is already stressed.
“Metal ties for use in masonry shall be of a type that provides a mechanical connection between the wythes.” – ASTM C946-18
Step-by-Step: Installing Helical Ties Like a Pro
First, we perform a structural masonry inspection to locate the studs or the solid backup. You cannot just fire these ties into a void. We use a hammer drill on ‘rotary only’ mode—never impact—to create a pilot hole through the face of the brick and into the substrate. The size of this hole is governed by the density of the material; a hard-fired Chicago common brick requires a different bit than a soft lime-based unit. If the hole is too big, you get no ‘bite.’ If it’s too small, you’ll crack the brick when you drive the tie home.
Next, we use a specialized driving tool on a SDS-plus hammer drill. This tool grips the end of the helical tie and spins it as it drives it. The tie ‘corkscrews’ into the pilot hole. You can feel the ‘suction’ as the tie bites into the material. I always tell my apprentices: listen to the drill. The pitch changes when the tie seats into the backup. We counter-sink the tie at least 10mm-15mm below the surface of the brick so we have room for the ‘mud’ to hide the wound. This is the heart of commercial tuckpointing and brick wall restoration: making the repair invisible to the naked eye.
Butter the Joint: The Final Restoration
Once the ties are set and the wall is pulled back into its structural equilibrium, we have to deal with the holes. This is where most handymen fail. They’ll slap some hardware store caulk in there and call it a day. That is a death sentence for the wall. You need a breathable mortar that matches the existing historic brickwork repointing color and compressive strength. We mix our ‘mud’—usually a Type O or Type N depending on the age of the building—and use a small slicker to pack the mortar into the hole. We ‘butter’ the head joints and bed joints around the repair to ensure a brick spalling prevention seal.
If the wall had significant brick efflorescence removal needs, we address that now. Efflorescence—that white, salty powder—is a sign that water is moving through the wall. If we’ve installed the ties but haven’t fixed the chimney leak detection issues or the flashing at the roofline, the new ties will just be sitting in a wet environment. Even though they are 304 or 316-grade stainless steel, we want a dry cavity. A dry wall is a stable wall.
The Forensic Conclusion: Do It Once, or Do It Twice
I’ve seen plenty of ‘lick-and-stick’ stone veneer repair jobs where the installer forgot the drainage plane and the mechanical ties. They rely on the bond of the mortar alone. Gravity and moisture never sleep; they are the two most patient forces on earth. When you are looking at retaining wall installation or a multi-story facade, you cannot afford to guess. Helical ties offer a surgical, permanent fix that preserves the original aesthetic of the building while restoring the safety that was lost to time and decay. Don’t wait for the ‘ring’ of a falling brick on the sidewalk to tell you it’s time for an inspection. If you see a crack, get a scope inside. The truth is always in the cavity.