
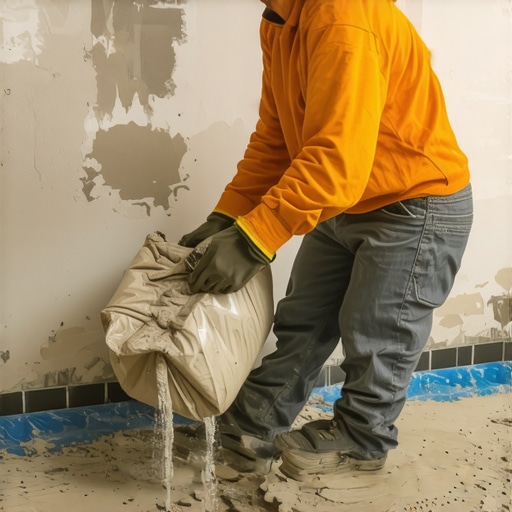
The Discipline of the Grout Bag
The first time I saw a rookie try to grout a stone facade restoration without a bag, it looked like a gray landslide had occurred. My mentor, a man who had more limestone dust in his lungs than oxygen, grabbed my wrist and forced me to listen. He didn’t just teach me to lay brick; he taught me to hear the mortar. If the mud is too wet, it screams as it slides; if it is too dry, it gasps. He used to say that a mason who makes a mess is a mason who doesn’t understand the chemistry of his own tools. He’d take a freshly mixed batch of Type O mortar, fill a heavy-duty canvas bag, and move with the grace of a surgeon. If the joint didn’t receive the mud with a perfect ‘grip,’ he knew the suction of the stone was off. Mastering the mortar bag isn’t about speed; it is about managing the hydraulic pressure within a confined cone to ensure that every void in a structural masonry inspection is filled without staining the face of the work.
The Physics of Flow: Why Mortar Consistency is Everything
When you are performing commercial parapet wall repair, you aren’t just filling gaps; you are managing a structural interface. The mortar bag—or grout bag—is an extension of your hand, but it’s governed by the laws of fluid dynamics and rheology. The ‘mud’ (mortar) inside that bag must be plastic enough to extrude through a narrow tip but viscous enough not to ‘run’ once it hits the vertical plane. This balance is critical because of the ‘heat of hydration.’ If your mix is too lean, the water will bleed out under the pressure of your squeeze, leaving a plug of dry sand that will jam the tip. If it’s too rich, it will smear, ruining the texture of sustainable masonry materials.
“Water penetration is the single greatest threat to masonry durability. Proper joint filling and compaction are the primary defenses against moisture ingress.” – BIA Technical Note 7
In Northern climates where the freeze-thaw cycle is the primary enemy, the mortar must be air-entrained. When water trapped in a joint freezes, it expands by approximately 9%. If you have used a hard, non-breathable Portland cement on a historic brick arch restoration, that expansion has nowhere to go. It will pop the face right off your brick (spalling). By using the mortar bag to inject a softer, lime-rich mix deep into the joint, you create a breathable path for moisture to escape. This is the ‘sacrificial’ principle of masonry: the mortar must be softer than the unit so that the mortar fails over decades rather than the brick failing in a single season.
The Anatomy of a Clean Joint: The Process
To avoid the dreaded ‘handyman smear,’ you must understand the ‘tooth’ of the substrate. Before you even touch the bag, the joints must be raked out to a consistent depth—usually 3/4 of an inch for standard repointing. If you are dealing with a failing retaining wall repair, you might need to go deeper to reach sound material. Use a structural masonry inspection to identify ‘honeycombing’ or deep voids that require a ‘deep lift’ fill before the final pointing pass.
1. The Loading Phase
Never overfill the bag. A heavy bag leads to fatigue, and fatigue leads to tremors. A masonry bag should be filled no more than halfway. Fold the top over to create an airtight seal. This prevents the ‘skinning over’ of the mortar, which causes lumps that block the flow. The goal is a steady, laminar flow of mud.
2. The Extrusion Angle
Hold the tip at a 45-degree angle to the joint. You want to ‘butter’ the back of the joint first, filling from the inside out. This prevents air pockets. If you leave air behind the mortar, the first heavy rain will find it, and the first freeze will blow the joint out. This is especially vital in chimney flue liner installation where the thermal stress is extreme.
3. The ‘Thumbprint’ Rule
This is where most beginners fail. They try to strike the joint while the mud is still wet. This smears the cement paste across the brick face, creating a stain that requires acid washing—a process that can damage historic pointing styles. You must wait. Wait until the mortar is ‘thumbprint hard.’ When you press your thumb into the joint and it leaves a clear impression without sticking to your skin, it is time to use your slicker. A slicker or jointer tool compacts the mortar, pushing it against the ‘tooth’ of the brick and sealing the edges against water penetration.
Material Science: Beyond the Bag
In stone facade restoration, the porosity of the stone dictates your mix. A dense granite requires a different approach than a thirsty sandstone. If the stone ‘sucks’ the water out of the mortar too fast, the mix will ‘flash set’ and fail to bond. We often pre-wet the joints—bringing them to a Saturated Surface Dry (SSD) condition—to ensure the mortar cures through hydration rather than just drying out.
“The mortar should always be weaker than the masonry units it binds, ensuring that stresses are relieved through the joints rather than the units themselves.” – ASTM C270 Standard Specification
When applying brickwork sealants application after the cure, the quality of your bagging becomes evident. A clean, well-compacted joint accepts a silane/siloxane sealant far better than a jagged, smeared one. If you’ve done your job right, the sealant will penetrate the pores of the mortar, creating a hydrophobic barrier that still allows the wall to ‘breathe’ its internal vapor out.
Addressing Structural Failure
Sometimes, the bag isn’t enough. During a structural masonry inspection, if I see stair-step cracking that exceeds 1/4 inch, I know we aren’t just looking at a mortar problem; we are looking at a soil problem. Whether it’s hydrostatic pressure against a basement wall or a failing retaining wall repair, sometimes you need to call in the heavy hitters for foundation helical pier installation. No amount of clean pointing will save a wall that is sinking into plastic clay. But for the 90% of cases where the issue is simply age and weathering, the mortar bag is your most potent weapon in the fight for preservation.
The Restoration Reality
In the end, masonry is about the long game. You can use modern ‘lick-and-stick’ methods and be gone by Friday, but the wall will fail by next year. Using a mortar bag correctly is a testament to the craftsman’s patience. It is about ensuring that a commercial parapet wall repair stands up to the high winds and driving rains of the upper floors, or that a historic brick arch restoration retains its geometry for another century. We aren’t just builders; we are the stewards of the stone. Don’t smear the legacy.