
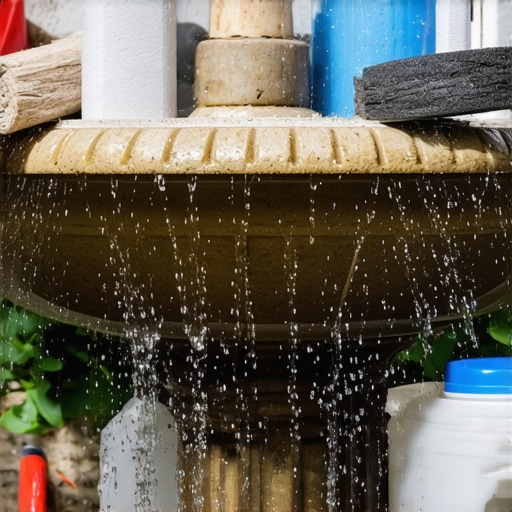
The Forensic Scene: When Water Turns Against Stone
The homeowner told me it was just a hairline crack, a minor blemish on a $30,000 Italianate limestone centerpiece. But when I put my borescope inside the secondary basin, I didn’t see solid masonry; I saw a void where the structural steel had rusted to a ghost of its former self, leaving behind nothing but a red-stained cavity. The entire 2,000-pound structure was leaning three degrees to the south. In the world of forensic masonry, three degrees isn’t a ‘settling’ period; it is a slow-motion collapse. This fountain was sinking because the installer treated it like a garden ornament rather than a hydraulic structure. They ignored the ‘suction’ of the stone and the relentless physics of saturated soil.
The Physics of Sinking: Hydrostatic Pressure and Soil Liquefaction
To understand why a water feature fails, you have to look at the chemistry of the ground beneath it. When you have a massive stone structure, you are dealing with immense downward pressure—often thousands of pounds per square foot. If the sub-base is composed of poorly compacted clay or non-uniform fill, the introduction of even a small leak causes the soil to reach its liquid limit. This isn’t just mud; it is a slurry that loses all bearing capacity. In northern climates where the freeze-thaw cycle is a seasonal hammer, any water that has seeped into the sub-base expands by 9% when it freezes. This creates ‘ice jacking,’ a force that can lift a soldier course of bricks or snap a reinforced concrete pad like a dry cracker.
“Water penetration is the single greatest threat to masonry durability.” – BIA Technical Note 7
The micro-mechanics of this failure often begin at the ‘cold joint’—that interface where the basin meets the pedestal. If the installer didn’t properly ‘butter’ the stones to ensure a 100% mortar contact, voids are left behind. These voids become miniature reservoirs. Over time, the calcium hydroxide in the mortar reacts with carbon dioxide in the air to form calcium carbonate, a process called carbonation. While this can harden mortar over decades, in a constantly wet environment, it often leads to leaching. You see it as white efflorescence, but I see it as the mortar’s lifeblood being washed away, leaving the joint brittle and porous.
The Anatomy of a Fix: Beyond the Band-Aid
When a client asks for a quick patch, I tell them I don’t do ‘lick-and-stick’ work. Stabilizing a sinking fountain requires a retaining wall reinforcement mindset. If the foundation has failed, we don’t just add more ‘mud’ (mortar). We have to look at modular masonry construction techniques to rebuild the core. Often, this involves excavating around the feature to implement a retaining wall drainage upgrade. You cannot have standing water under a heavy masonry unit. We use perforated pipe and clean 57 stone to ensure that the hydrostatic pressure is relieved before it can exert force on the masonry.
For the stones themselves, patio stone realignment is often necessary once the base is stabilized. This isn’t just about moving stones; it’s about checking the ‘tooth’ of the stone. If the old mortar has glazed over the surface, the new mortar won’t grab. We have to mechanically scarify the stone to ensure the new bond is structural, not just aesthetic. For those dealing with decorative finishes, stone veneer repair requires a delicate hand to match the original mortar’s aggregate size and pigment. If you use a modern Type S mortar on a historic soft stone, the mortar will win and the stone will lose—it’ll pop the face right off in a process called spalling.
Material Science: The ‘Mud’ and the Membrane
I’ve seen too many ‘handyman specials’ fail because they used the wrong mud. For water features, the mortar needs to be dense but capable of handling slight movement. We often use a modified Type N mortar for historic brickwork repointing on older fountains, but for modern basins, we need a hydraulic set. Just as a chimney flue liner installation is designed to contain the heat and acids of combustion, a fountain’s interior needs a specialized liner or a high-performance brickwork sealants application. This isn’t your hardware store spray; it’s a silane-siloxane penetrating sealer that bonds chemically with the silica in the masonry.
“The selection of mortar should be based on the properties of the masonry units and the exposure conditions.” – ASTM C270 Standard Specification
If the fountain is a brick veneer installation over a concrete core, the failure point is almost always the weep holes—or lack thereof. Water gets behind the veneer, can’t get out, and then the freeze-thaw cycle begins its work. We have to clear those paths. In cases where the top of the feature is crumbling, a retaining wall capstone replacement might be the only way to shed water effectively. The capstone must have a proper drip edge; otherwise, the water will simply ‘wick’ back under the stone and into the core masonry, starting the cycle of destruction all over again.
The Execution: Striking the Joint and Sealing the Deal
When I’m on the hawk, mixing a fresh batch of mud, I’m looking for that perfect ‘suction.’ You want the stone to pull the moisture out of the mortar just enough to lock the crystals together. If the stone is too dry, it ‘burns’ the mortar, sucking the water out before it can hydrate. If it’s too wet, the mortar just swims. It’s a tactile science. After the stones are set, we use a slicker to strike the joints. This isn’t just for looks—compressing the mortar joint with a slicker makes it more water-resistant by closing the surface pores. This is the difference between a fountain that lasts five years and one that stays level for fifty. Do it once, do it right, or you’ll be calling me back to excavate your mistakes. “