
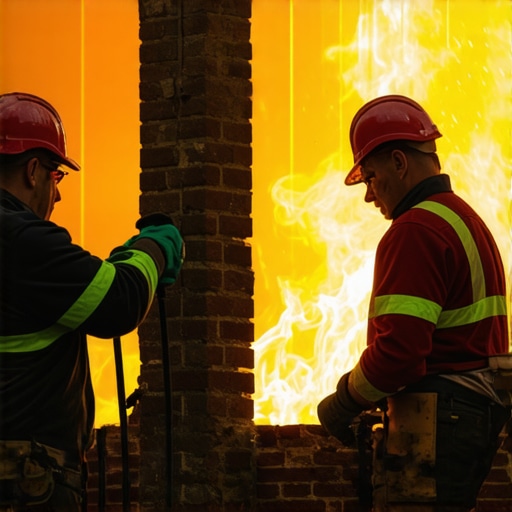
The Forensic Reality of Thermal Failure
The call came in at 4:00 AM on a Tuesday. A production facility in the high Mojave had a partition wall that didn’t just crack—it screamed. When I arrived, the structural steel was groaning, and the masonry was shedding its skin. This wasn’t a standard settlement issue; it was a forensic scene of thermal betrayal. The homeowner, or in this case, the facility manager, thought it was just a hairline crack. But when I put my scope inside the cavity, I saw the structural steel was rusted to dust and the fire-rated masonry was calcifying. The contractor had used standard Type S mortar for a high-heat application, and the heat had quite literally cooked the lime out of the mud. This is the reality of working in high-heat zones like the American Southwest or near industrial furnaces: the physics change, and if you don’t respect the thermodynamics, your wall is a pile of rubble waiting to happen.
The Molecular War: Refractory Materials vs. Standard Mud
In the trade, we call mortar ‘mud,’ but for fire-rated zones, you aren’t just mixing sand and cement; you are engineering a chemical shield. Standard Portland cement begins to lose its structural integrity around 400°F (204°C). In a high-heat zone, where ambient temperatures hit 120°F and internal wall temperatures can reach triple that, your mortar joints are the first point of failure. This leads to the all-too-common crumbling mortar joint repair calls I handle weekly. When the hydration bonds in the cement break down, the mortar reverts to its base components: sand and dust. It loses its ‘tooth,’ and the suction that once held the brick in a death grip disappears.
“Water penetration is the single greatest threat to masonry durability, but in high-heat zones, the rapid evaporation of pore water leads to salt crystallization and internal bursting pressures.” – BIA Technical Note 7
When buttering a firebrick for a brick veneer installation in these zones, you have to use refractory mortar. We’re talking about calcium aluminate cements and fireclay. This isn’t just about sticking things together; it’s about matching the thermal expansion coefficient of the brick. If the brick expands at a different rate than the mortar, the resulting ‘shear stress’ will pop the faces off your masonry. This is why tuckpointing brick walls with the wrong material is worse than doing nothing at all. You’re creating a rigid trap for the brick to break against.
The Expansion Problem: Why Walls Bow and Foundations Fail
In the searing heat of Nevada or Arizona, a 100-foot masonry wall can expand by over half an inch just from solar gain. If you didn’t install proper control joints—or if those joints are clogged with ‘lick-and-stick’ debris—the wall has nowhere to go but out. This is a primary driver of foundation wall bowing repair. The wall expands, hits a rigid corner or a structural column, and begins to belly. I’ve seen chimney rebuild services required because the heat from the flue expanded the inner liner so violently it cracked the outer wythe of brick, allowing sparks to hit the framing.
You have to understand the ‘Flash Set.’ In high-heat zones, the masonry unit (the brick) acts like a sponge. If you don’t ‘kill the suction’ by pre-wetting the bricks, they will suck the water out of your mortar before it can hydrate. You end up with a ‘dry joint’ that has no bond. It’s a ‘cold joint’ in the making, and it will fail the first time a heavy wind hits it. This is why tuckpointing tools for DIY often lead to disaster; people don’t realize they need to manage the moisture content of the substrate as much as the mud on their hawk.
Dealing with the White Ghost: Efflorescence and Sealers
Heat accelerates the movement of moisture. As water moves through the masonry, it carries salts to the surface. When the water evaporates in the desert sun, it leaves behind a white, crusty film. Brick efflorescence removal isn’t just an aesthetic fix; it’s a diagnostic tool. If I see heavy efflorescence, I know I have a moisture intrusion problem, likely from a lack of foundation waterproofing or poor drainage. The heat drives the ‘wicking’ effect, pulling ground salts up into the wall. To stop this, you need porous stone sealers that are ‘breathable.’ If you use a cheap, non-breathable sealer, you are essentially shrink-wrapping your wall. The vapor will get trapped behind the sealer, turn to steam in the sun, and blow the face of the stone off. I’ve seen thousands of dollars in stone veneer repair caused by someone trying to ‘waterproof’ a wall with the wrong chemical.
“The refractory properties of the clay must be matched by the mortar to ensure the monolithic behavior of the assembly under thermal load.” – ASTM C199
The Master’s Checklist for High-Heat Masonry
If you’re facing a fire-rated installation or a repair in a high-heat zone, you need to think like a chemist. First, verify your materials. Are the bricks fire-rated? Is your mortar refractory grade? Second, manage the environment. If you’re laying in 100-degree heat, you need to shade the wall and pre-hydrate your units. Third, check your joints. Are they struck cleanly with a slicker to compress the surface and keep moisture out? Any ‘honeycombing’ in the joint is a pocket where heat and moisture can congregate and begin the destruction process.
When I’m performing a forensic structural inspection, I’m looking for the ‘ring.’ A healthy fire-rated wall, when tapped with a hammer, has a high-pitched resonance. A failing wall, one suffering from internal delamination due to thermal shock, sounds like a dull thud. It’s the sound of a wall that has given up. Don’t let your masonry reach that point. Whether you are dealing with a chimney rebuild services project or a critical firewall, respect the physics of the heat. Do it once, do it right, or you’ll be calling me to find out why your $50,000 investment is currently a pile of dust on the job site.